Setting up Sertifi on a custom object
To ensure accurate data sharing between two objects, it's necessary to run Sertifi from a custom object, as well as creating a lookup relationship. This process applies to Salesforce Classic and Salesforce Lightning.
Custom object setup in Salesforce Classic
To set up Sertifi on a custom object in Salesforce Classic:
Navigate to Create > Objects.
Click Sertifi EContract under the Label field.
Scroll down to Custom Fields and Relationships.
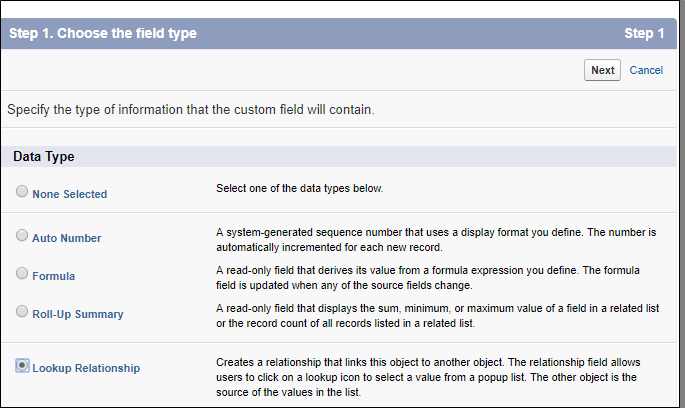
Click New. The New Custom Fields and Relationship wizard opens.
Select Lookup Relationship from the list, and then click Next.
Select your custom object from the Related To dropdown menu, and then click Next.
Enter Sertifi EContract for the Field Label.
Click into the Field Name box to autopopulate the field name, and then click Next.
Click Next until you reach step 6 of 6 in the wizard.
Click Save.
Custom object in setup Salesforce Lightning
To set up Sertifi on a custom object in Salesforce Lightning:
Navigate to the Object Manager tab from Set up.
Click Sertifi EContract in the Object list.
Click Fields and Relationships.
Select Lookup Relationship.
Select your custom object in the Related To dropdown menu, and then click Next.
Click Next for steps 3 - 5 of the wizard. You don't need to make any changes for steps 3 - 5.
Click Save on step 6.
Locate the API name of the custom relationship you just created by clicking Details in the Object Manager.
Copy and paste the API name of the relationship.
Add that API name to the Link Object Field in the Sertifi custom settings. For more information, see Customizing your settings.