Standard Installation Guide
This article covers the installation and configuration steps for Sertifi for Salesforce CPQ. In order to get CPQ up and running with Sertifi, you must first download, install, and configure the Sertifi for Salesforce app.
Downloading and Installing the Sertifi app
To download and install the app to your Salesforce account:
Navigate to the App Exchange in Salesforce, and then search for Sertifi. You can also download the app directly from Sertifi’s listing on the app exchange. Make sure you’re logged into your account.
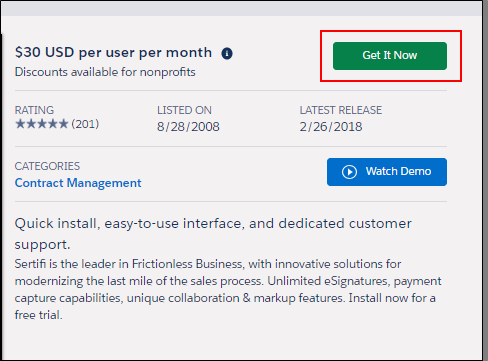
Click Get It Now on the Sertifi for Salesforce app screen in the app exchange. A popup window appears.
Click Install in Production or Install in Sandbox depending on where you want to install the Sertifi app.
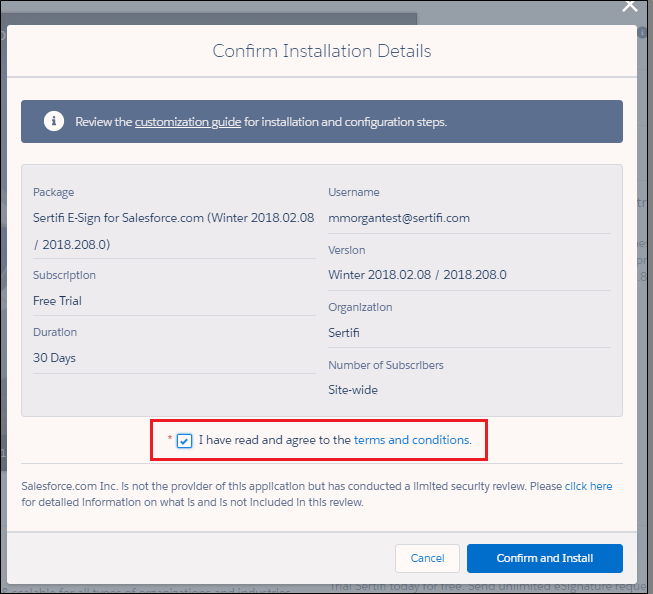
Select that you agree to Terms & Conditions in the Confirm Installation Details popup.
Click Confirm and Install. You’re taken to your Salesforce instance.
Click Install for All Users, and then click Install. A popup appears.
Select Yes, grant access to these third-party web sites, and then click Continue.
Select Yes for 3rd party access, and then click Continue. Sertifi appears in your Installed Packages section.
If your installation takes a long time, you’ll receive an email when installation is complete.
Adding the trusted Sertifi IP range
By adding Sertifi's trusted IP range to your Salesforce integration, Sertifi can write in and provide updates to signed documents, update your activity log, and push documents back into your system.
To grant network access:
Enter Network Access in the Quick Find search bar from your Salesforce account.
Click Network Access in the results.
Click New in the Trusted IP Ranges card.
Enter the IP range given to you by your Sertifi Customer Success Manager.
Enter a description.
Click Save.
Creating your backend Sertifi portal
Your Sertifi for Salesforce account comes with a custom backend portal. In this portal, you can access additional account settings to enhance your workflow within Sertifi for Salesforce. Once you complete the backend configuration, contact your Customer Success Manager, so that you can view and manage these additional settings.
To create your backend portal:
Enter Installed Packages in the Quick Find search bar from your Salesforce account.
Click Installed Packages in the results.
Click Configure next to Sertifi E-Sign for Salesforce.com. A popup opens.
Enter the following details in the Account Information section:
Account Title – enter your company name.
Account URL – enter your company name without spaces. This creates your custom portal URL. You'll use this URL to access your backend Sertifi portal.
(Optional) Click Choose File to upload your company’s logo. The logo appears on your portal and is visible in your file sends, so all of your messaging is branded appropriately. You can also send your logo to your Customer Success Manager to update it at any time in the future.
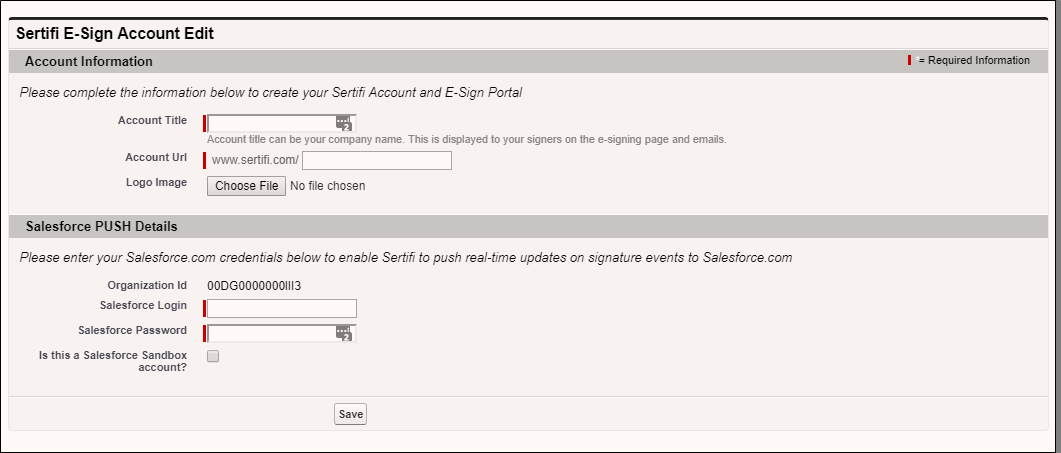
Enter your Salesforce username and password in the Salesforce PUSH Details section.
(Optional) Click Sandbox if you’re installing the app in a sandbox environment.
Copy and paste your API code in a separate window.
Click Save, and then close the popup window.
Your Sertifi Backend portal is now set up. Contact your Sertifi CSM to provide you Super Admin user access.
Creating a lookup relationship
As you install the Sertifi application, it's necessary to create a lookup relationship to the Salesforce Quote so that you can point the Sertifi button to the Quote.
To create a lookup relationship in Salesforce:
Navigate to Create > Objects.
Click Sertifi EContract under the Label field.
Scroll down to Custom Fields and Relationships.
Click New. The New Custom Fields and Relationship wizard opens.
Select Lookup Relationship from the list, and then click Next.
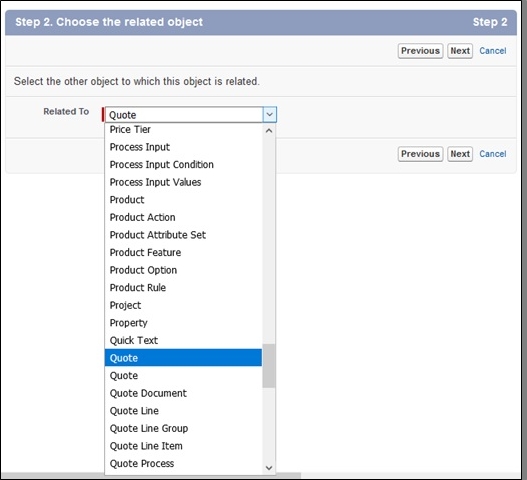
Select the first Quote from the Related To dropdown menu, and then click Next.
Enter sertificpq__Quote for the Field Label.
Click into the Field Name box to auto-populate the field name, and then click Next.
Click Next until you reach step 6 of 6 in the wizard.
Click Save.
Once you finish configuring you backend portal, you must create the custom settings to ensure your app works properly.
To configure custom settings:
Enter Custom Settings in the Quick Find search bar from your Salesforce account.
Click Custom Settings.
Click Manage next to Sertifi Application Settings
Click New to create a new custom setting, or click Edit to edit an existing custom setting.
Enter Settings in the Name field.
Enter the API code that was generated when you configured your backend portal. For more information, refer back to Configuring your backend portal.
Enter SBQQ__Quote__c in the LinkObjectType field.
Enter sertificpq__Quote__c in the Link Object Field.
Optional - Configure additional settings using the Custom Settings guide.
Click Save.
Enabling Real Time Updates in Salesforce Classic
This is the final step in completing your Salesforce installation, and it requires Corporate Admin access to the Sertifi portal. If necessary, contact your Customer Success Manager to identify the Corporate Admin at your organization, or contact Sertifi Support.
We recommend enabling real time updates so your file sends are automatically pushed to your Sertifi portal for storage.
To enable real time updates:
Login to your Sertifi Portal using the URL you created when setting up your app in Salesforce.
Navigate to Administration > Account Settings > Real Time Updates.
Change the update type to Salesforce OAuth2.
Enter an email address in the Failure Notification Email field. If you have an integration user account, please use this account’s email.
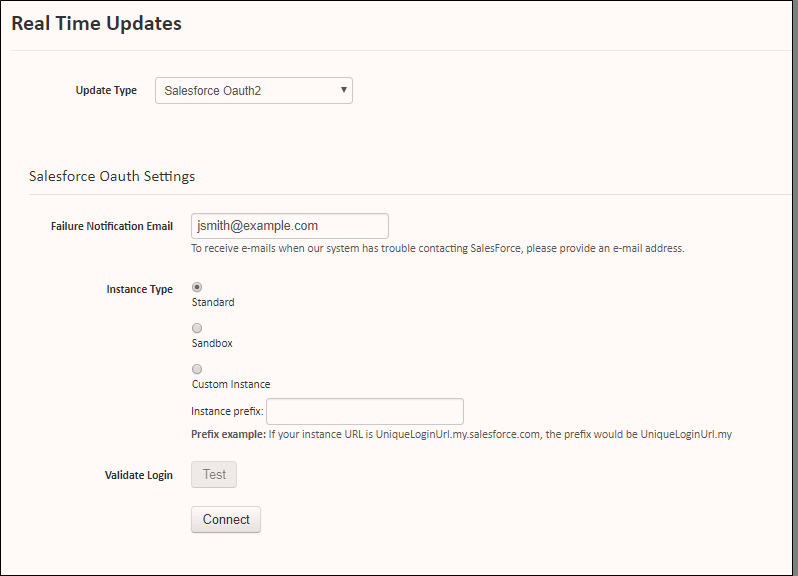
Select the Instance type, and then click Connect. A new tab opens.
Enter your Salesforce credentials. If you have an integration user account, please use this account’s credentials.
Click Allow.
You’ve successfully installed and set up your Sertifi app. You’re taken back to your Sertifi Portal and now see a green bar stating Connected.
Downloading and installing the Sertifi for CPQ extension package
To download and begin setup of the Sertifi for CPQ extension package:
Contact your Customer Success Manager for the installation link for the Sertifi for Salesforce CPQ extension package.
Once you receive the link, open it in a browser.
Select Install for Admins Only, Install for All Users, or Install for Specific Profiles.
Click Install.
Click Continue. Sertifi for CPQ will begin downloading, and then appears in your Installed Packages section. If your installation takes a long time, you’ll receive an email when installation is complete.
Configuring Sertifi for CPQ
To properly configure Sertifi for CPQ:
Navigate to the Installed Packages page, either by clicking Done after installation, or by entering and then selecting Installed Packages in the Quick Find search bar.
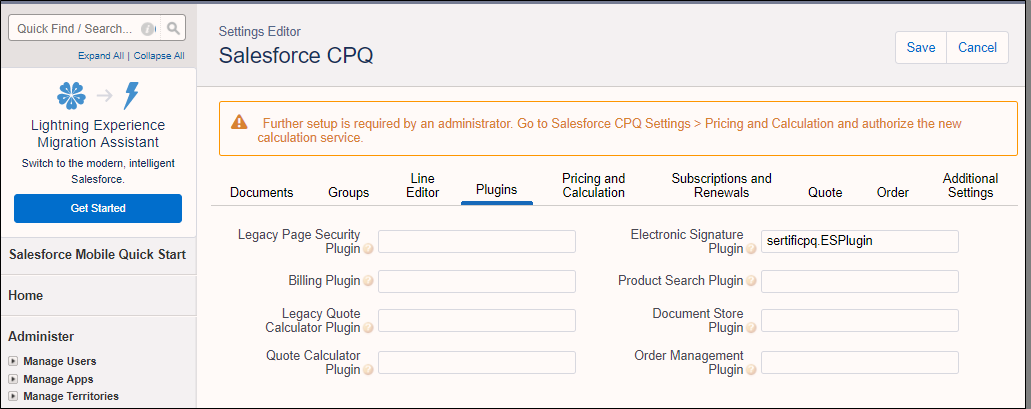
Click Configure next to Salesforce CPQ.
Click Plugins.
Enter sertificpq.ESPlugin in the Electronic Signature Plugin field.
Click Save.
You’ve now configured Sertifi for CPQ.
Configuring the Data Mapping Lightning component (Optional)
If you're using Salesforce Lightning, it's a recommended best practice to use the Data Mapping Lightning component to pre-populate fields in your Sertifi Sending Wizard.
After you install and configure the Sertifi for Salesforce app and the Sertifi for Salesforce CPQ extension, and you're using Salesforce Lightning, you should set up your Sertifi Sending Wizard via the Data Mapping component. This Lightning component pulls fields directly from the Quote object to pre-opulate fields in the Sertifi Sending Wizard. This saves your sales reps time in sending Quotes in Sertifi for Salesforce CPQ, and can assist in preventing errors and maintaining better data organization.
To use the Data Mapping lightning component:
Navigate to the Lightning App Launcher.
Select Sertifi for Salesforce CPQ.
Click the Sertifi CPQ Settings tab. The Data Mapping Lightning component opens.
Configure your pre-populated data by selecting the relevant fields from each dropdown.
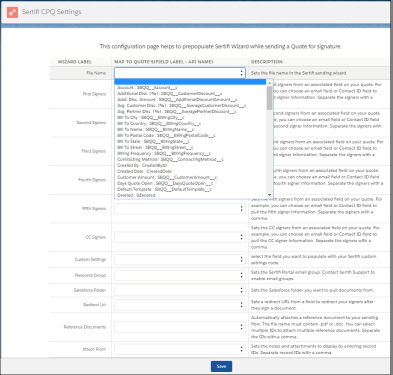
Click Save.