Send an Authorization
Navigate to your dashboard.
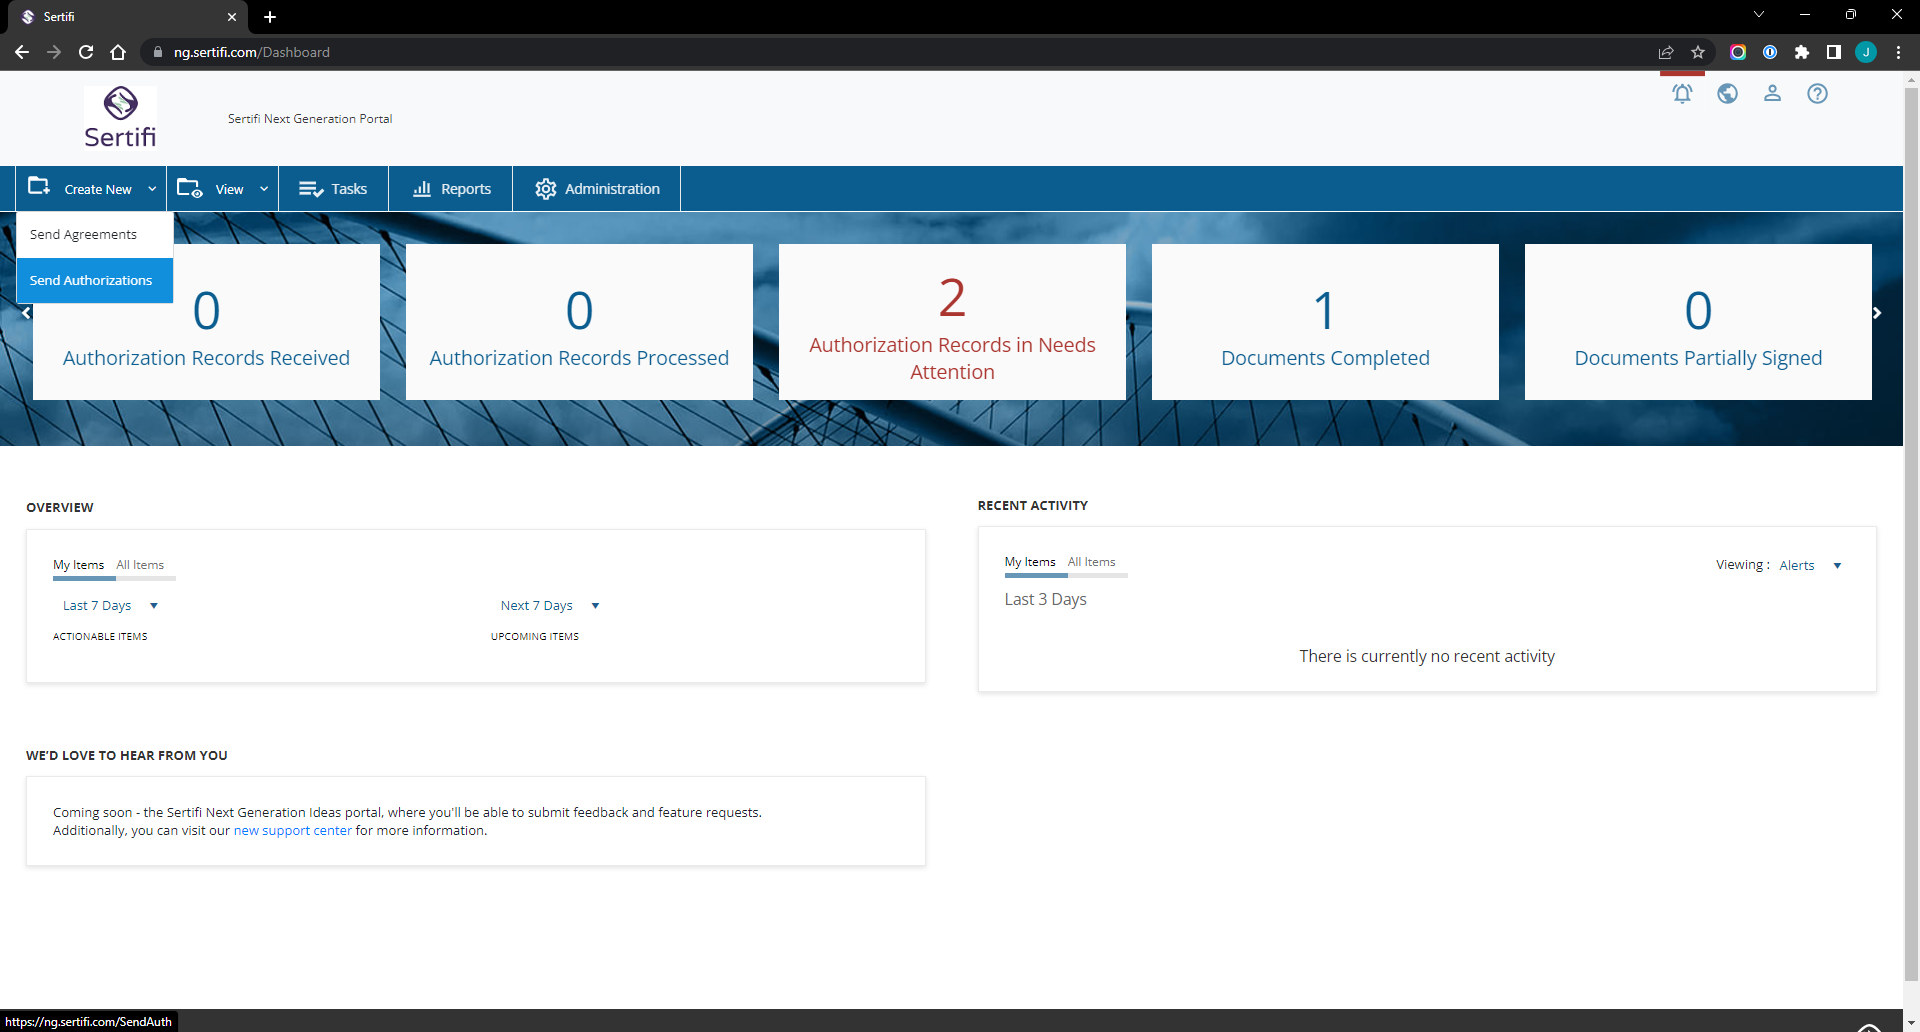
Click Create New.
If you have access to multiple workflows, click Send Authorization.
Enter a name for the folder that will contain your authorization request.
Caution
The folder name will be included in the email sent to your participants, so be sure it's descriptive and appropriate. Sertifi also recommends using a naming convention for your folders so that they're easier to organize and find.
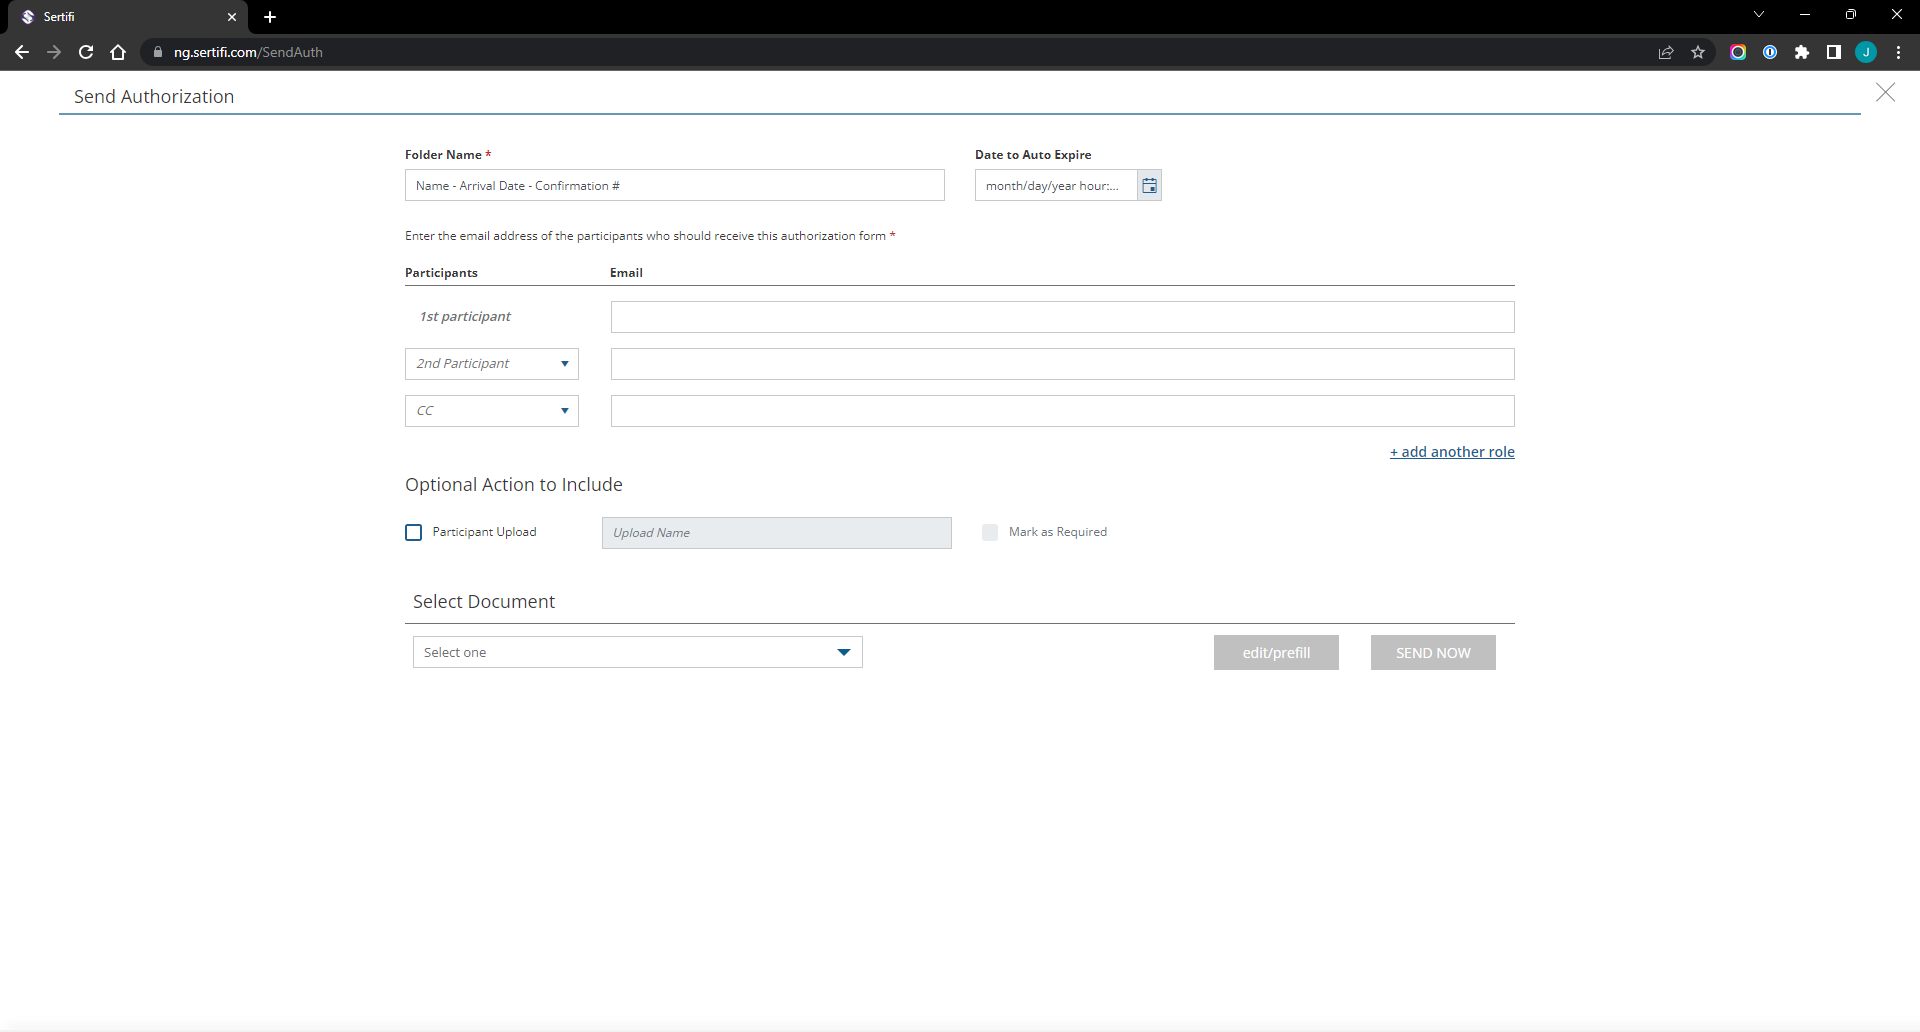
Optional – enter an expiration date, or select one from the calendar.
Complete the following fields.
1st participant - enter the email addresses of the users who will be completing your authorization request.
Note
Although you are able to add more than one participant, or participant level, to an authorization request, this is not common.
CC - enter the email addresses of the users that should receive updates about the authorization.
Select an authorization form from the drop down menu underneath Select Document. You may click Edit/Prefill to enter information onto the form before sending.
Optional – You can ask your participant to upload a supplementary document, like an ID card, by clicking the check box next to Participant Upload. Then, enter a name for the upload. To make the upload required, click the check box next to Mark as required.
To send the authorization request, click Send Now.