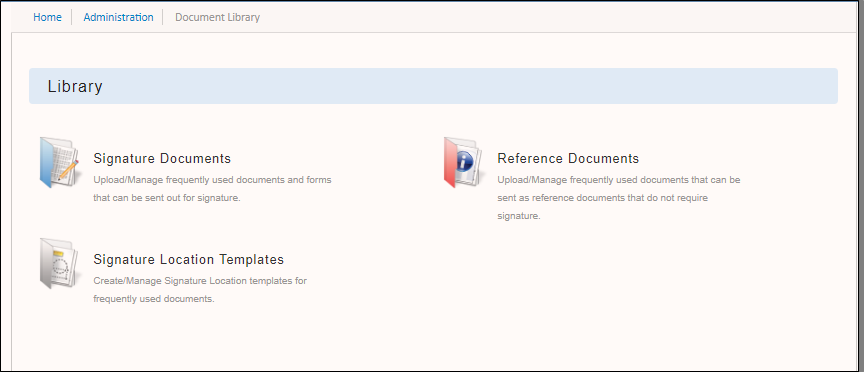
Managing the Document Library
Every Role type can perform certain tasks in the Document Library. However, higher Role types, such as Admins and Super Admins, will be able to perform more tasks than other admin types.
This page contains guides on the following:
Signature Documents
In the Signature Documents section, you can upload and manage frequently used documents and forms to send for signature.
To upload a Signature Document:
Navigate to Administration > Document Library.
Click Signature Documents.
Click Upload. The Upload window opens.
Enter a title for the document.
Click Choose File, and then navigate to the Signature document you want to upload.
Click Upload. The Signature Document is added to your library.
Editing signature documents
From the Signature Documents section, you can perform a variety of editing tasks for your documents. Click the blue arrow in the row of the Signature Document you want to edit.
Tip
If you're a Super Admin can you can edit any of the signature documents in the library. If you're a Power Admin or below, you can only edit the documents you upload.
From here, you can:
View the document ID for an API call. Click API Details and the ID of the signature document appears underneath the name of the document.
Download the signature document. Click Download to download a local copy of the signature document.
Replace the signature document. Click Replace to replace the signature document with a new file.
Rename the signature document. Click Rename to rename the signature document.
Delete the signature document. Click Delete to remove the signature document from your document library.
Choose to share the file, or keep it private. Click Share/Private to either share the signature document with other users, or mark it private so only you can use the document. Note that Super Admins can share or change the privacy settings of ANY documents, whereas Power Admins and below can only share the documents they upload.
Reference Documents
In the Reference Documents section, you can upload and manage reference documents that don't require signatures. Reference documents are often used to provide additional information related to signature documents, like catering menus or venue maps.
To upload a reference document:
Navigate to Administration > Document Library.
Click Reference Documents.
Click Upload. The Upload window opens.
Enter a title for the document.
Click Choose File, and then navigate to the reference document you want to upload.
Click Upload. The reference document is added to your library.
Editing reference documents
From the Reference Documents section, you can perform a variety of editing tasks for your documents. Click the blue arrow in the row of the Reference Document you want to edit.

Tip
If you're a Super Admin can you can edit any of the reference documents in the library. If you're a Power Admin or below, you can only edit the documents you upload.
View the document ID for an API call. Click API Details and the ID of the signature document appears underneath the name of the document.
Download the signature document. Click Download to download a local copy of the reference document.
Replace the signature document. Click Replace to replace the reference document with a new file.
Rename the signature document. Click Rename to rename the reference document.
Delete the signature document. Click Delete to remove the reference document from your document library.
Choose to share the file, or keep it private. Click Share/Private to either share the reference document with other users, or mark it private so only you can use the document. Note that Super Admins can share or change the privacy settings of ANY documents, whereas Power Admins and below can only share the documents they upload.
Signature Location Templates
In the Signature Location Templates section, you can create and manage signature templates. These allow you to create document templates with pre-loaded Sertifi Data Fields, which can save you time and effort when sending a document for signature.
To create a Signature Location Template:
Navigate to Administration > Document Library.
Click Signature Location Templates.
Click Upload. The Upload window opens.
Enter a title for the template.
Click Choose File, and then navigate to the signature document you want to upload and use as a template.
Click Upload. The reference document is added to your templates.
Click the blue dropdown arrow in the row of the document.
Click Add/Edit Locations. The document opens in a new editor window.
Select the signature locations from the top menu, and then drag and drop the signature box where you want it to appear on your document. For more information, refer to the Sertifi Data Fields guide.
Click Save in the upper-right corner of the screen.