Send A Folder
If you use Sertifi e-Signatures and you're a Sertifi Admin or higher, you can send a folder to participants for signature. A folder can contain signature documents, reference documents, payment requests, and authorization requests.
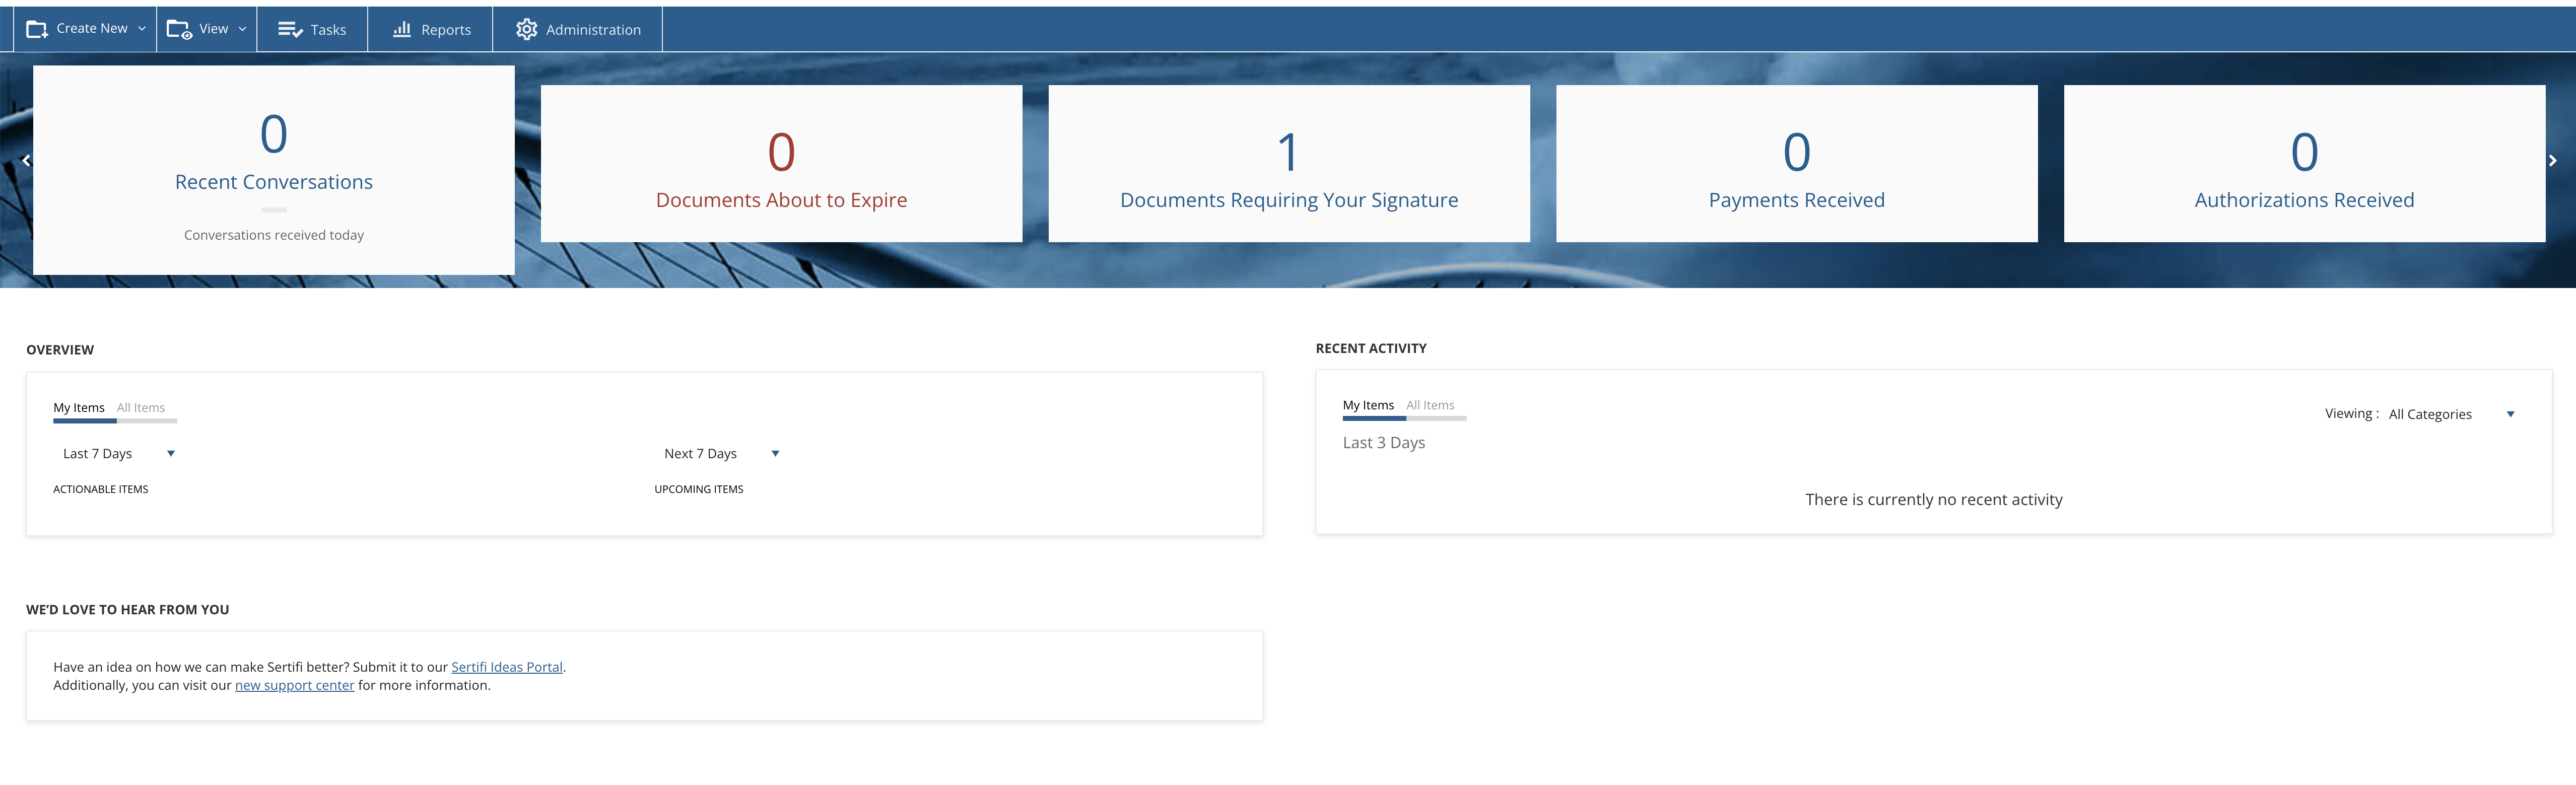
Navigate to your Sertifi portal.
Click Create New, and then click Send Agreements. If your portal is only configured to use e-Signatures, you'll only have to click Create New to begin the sending workflow.
Complete the following fields:
Folder Name – The folder name will be the subject line of the notification email sent to your participants, so be sure to use something that's appropriate and easy to understand. We recommend creating a naming convention for folders so that they're easier to organize and find in your portal.
Date to Auto-Expire – Pick a date if you would like to set a custom expiration date for the folder. Otherwise, the default expiration date is 30 days after the folder is sent.
Participants – enter the email address of the people that should sign the files, or add them from your portal's address book. Note that anyone included in the CC field will receive the documents, but will not be able to sign them.
Email Invitation (Optional) – enter a message for your signers with a greeting or additional information about the signature documents.
Click Next.
On the Configure Sending Actions page, you can upload or add your Signature Document.
You can also upload or add Reference Documents that are relevant files to your signature document. Examples of reference documents can include venue maps, menus, or local guides.
To add a payment or authorization request to the document, click Add Payments/Authorizations. For more information about sending payment requests, refer to the Next Gen Payments guide.

To add signature fields, click the blue pencil-and-pad icon to the right the document name to open up the Document Editor.
When you've finished uploading and configuring your documents, click Next.
On the Review and Send page, you can confirm the email addresses that will receive the signature documents, as well as adding an optional message.
If you want to see a preview email before it's sent, you can click Preview email.
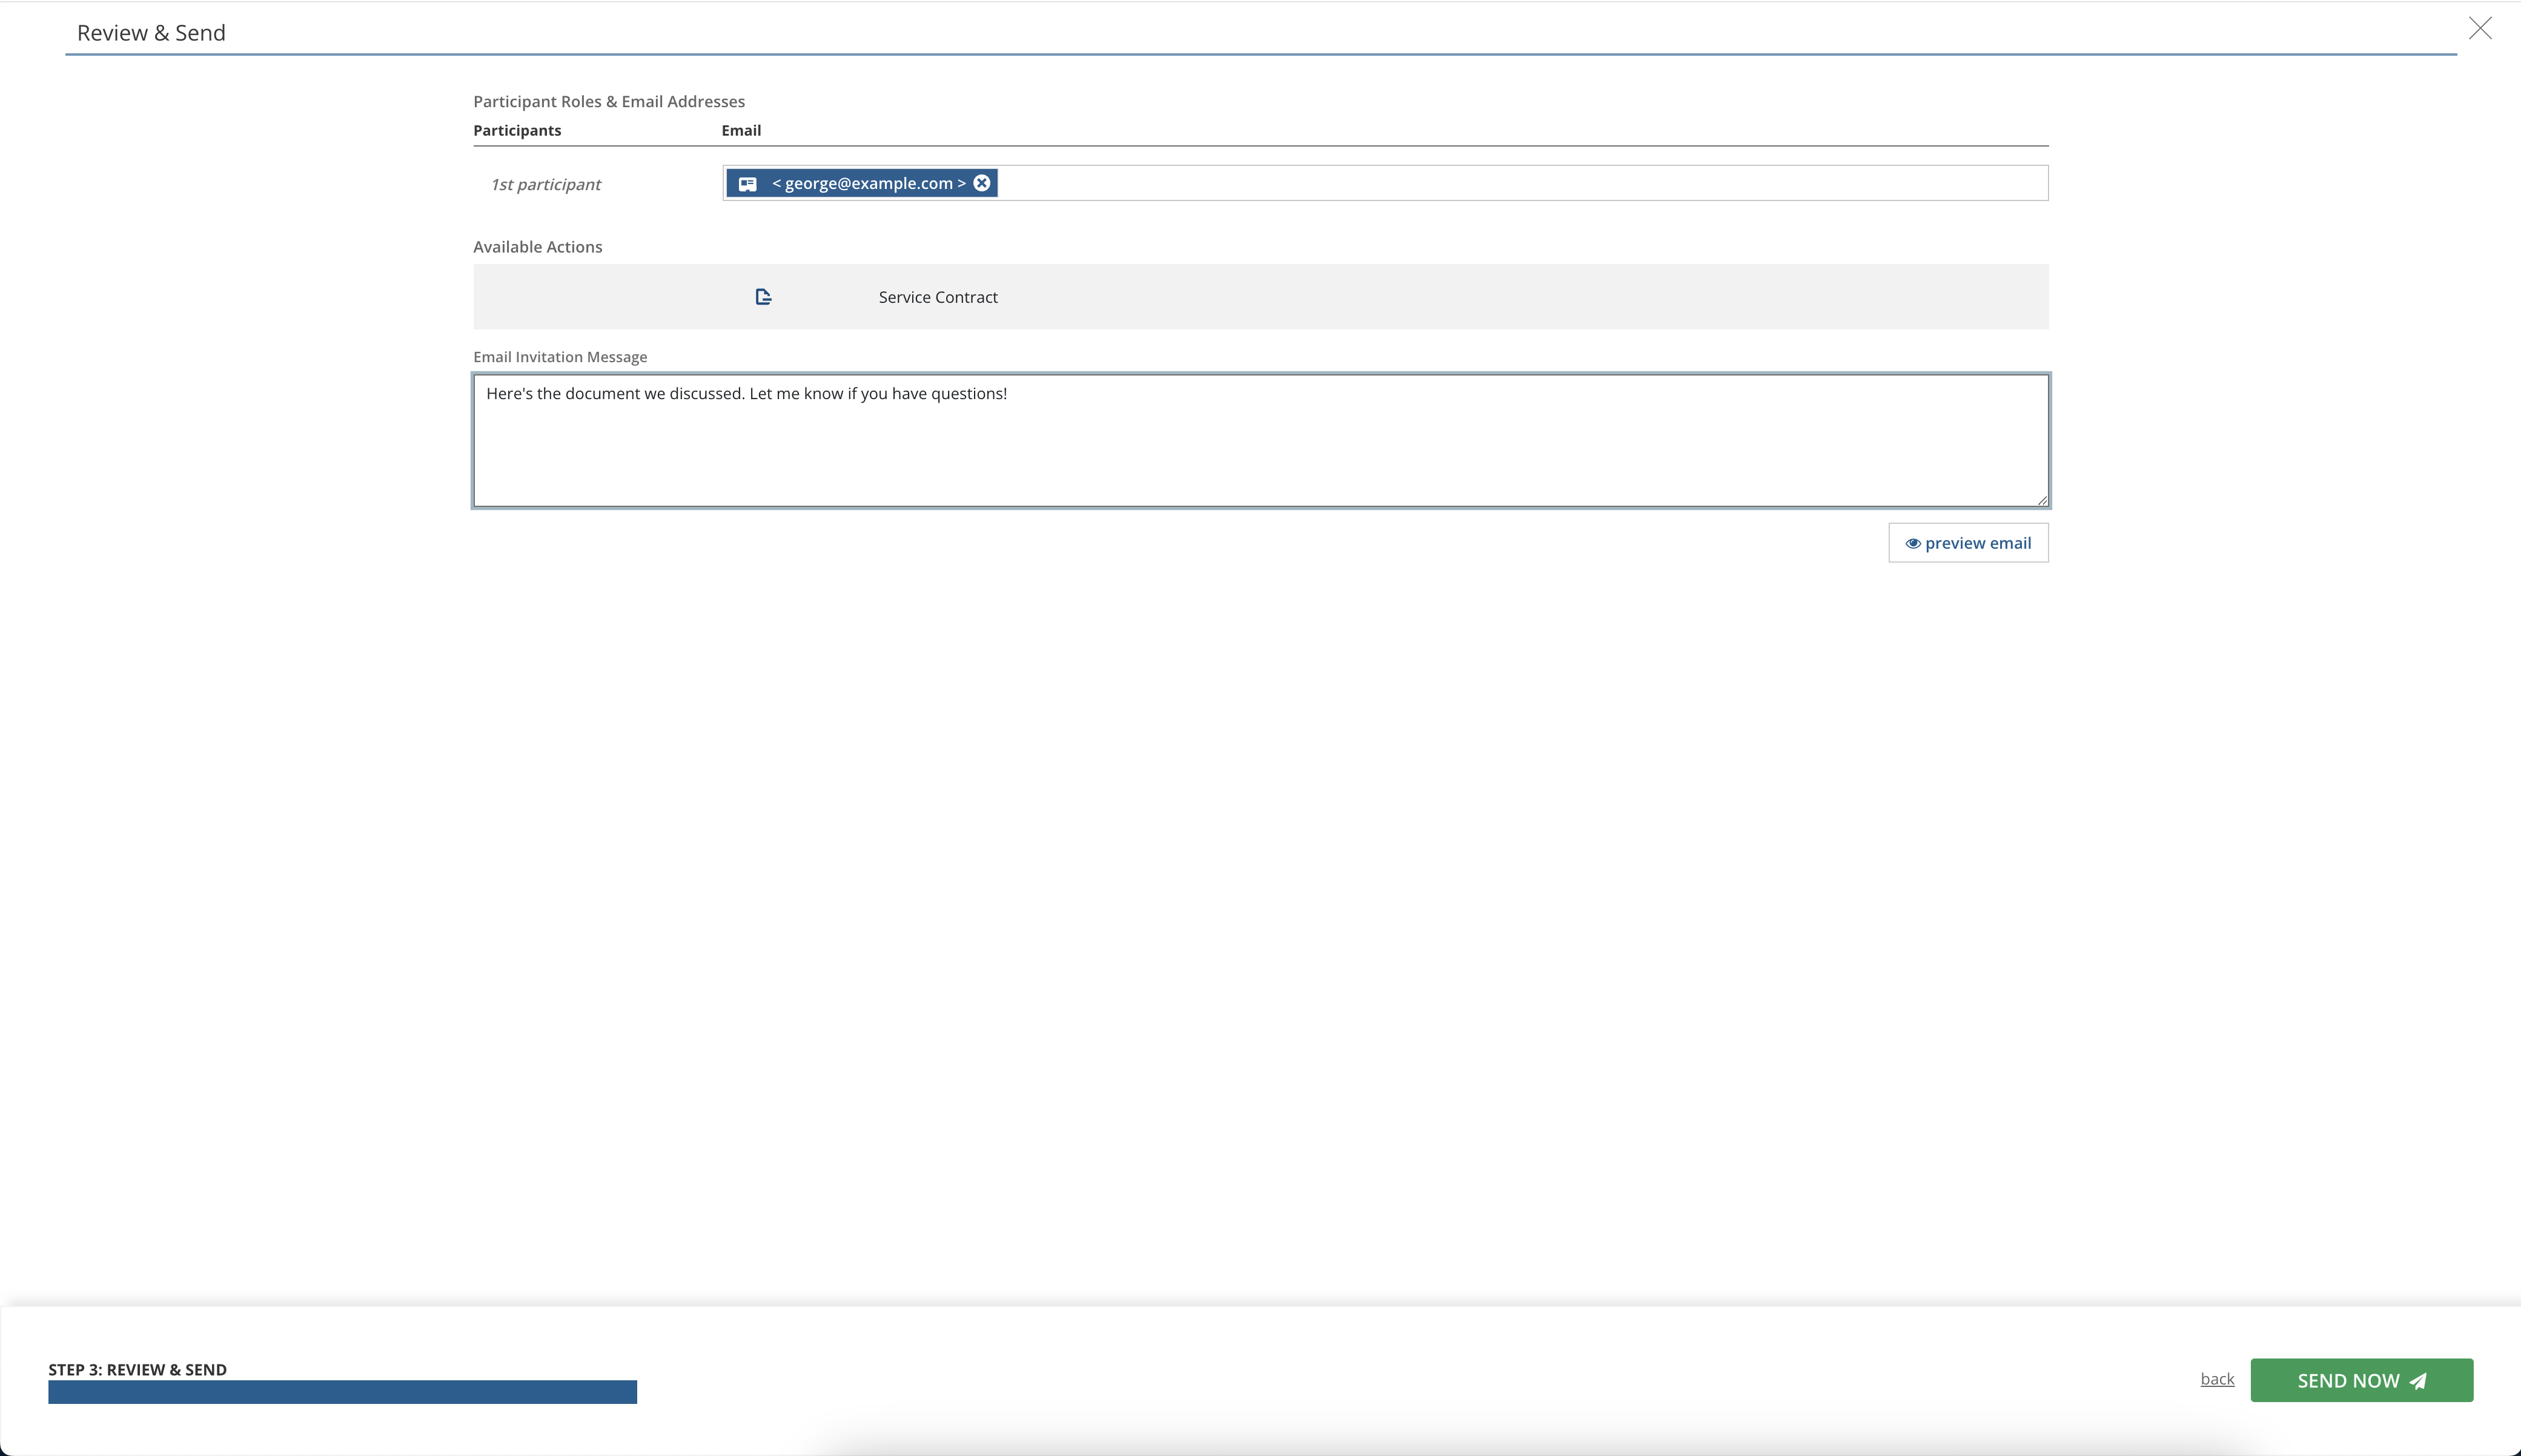
If everything looks good to go, click Send Now. An email notification will be sent to your participants.