eAuthorization Signer Experience
Caution
Once an authorization form expires, your signers will no longer be able to complete it. If the form expired before your signers could complete the form, you will need to re-send the form to them.
Signer Workflow
Your signer receives an email containing a link to the authorization form.
Your signer clicks the Review & Complete button in the email. The File Room opens in the browser.
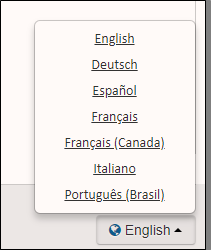
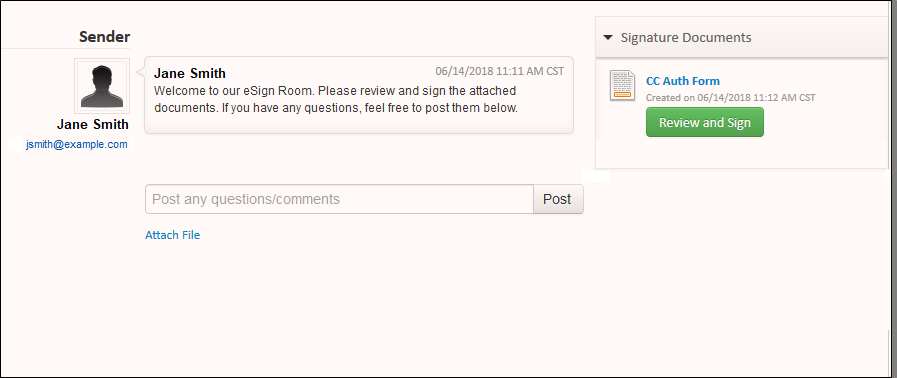
The signer will be greeted with a prompt asking them to review or post a question or comment if they so wish. If your signer leaves a question or comment, the sender of the file gets notified via email. Your signer can also select a language from the language dropdown in the right of the page footer.
Your signer clicks Review and Sign in the file room. The authorization form opens.
Your signer can either fill out the form in the way they see fit, or they can click Get Started to automatically navigate to the first field to complete.
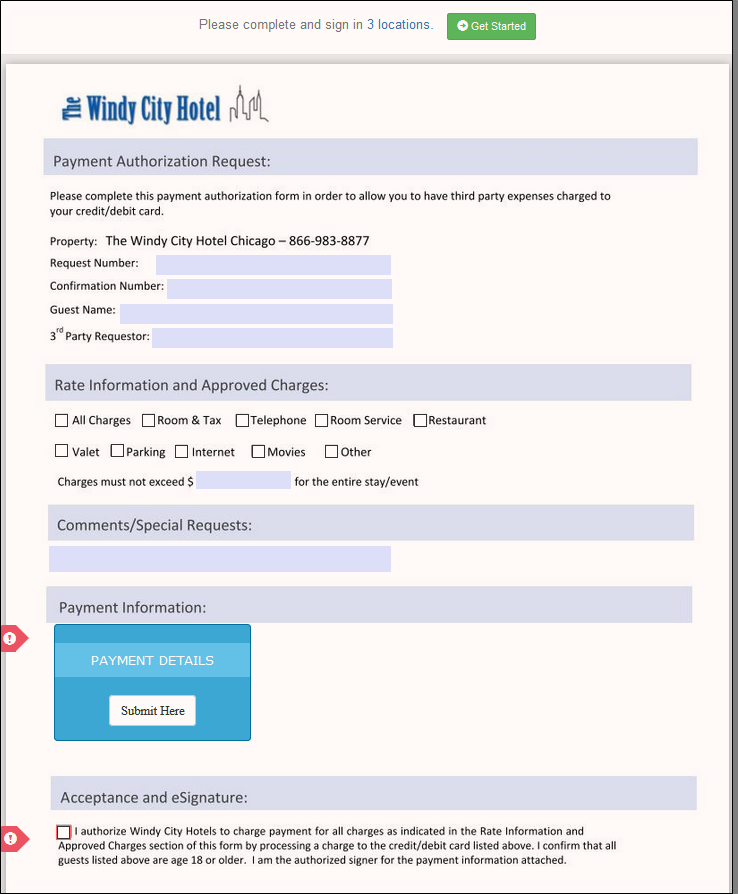
Your signer clicks Submit Here in the Payment Details section, and they then enter their payment information into the authorization form.
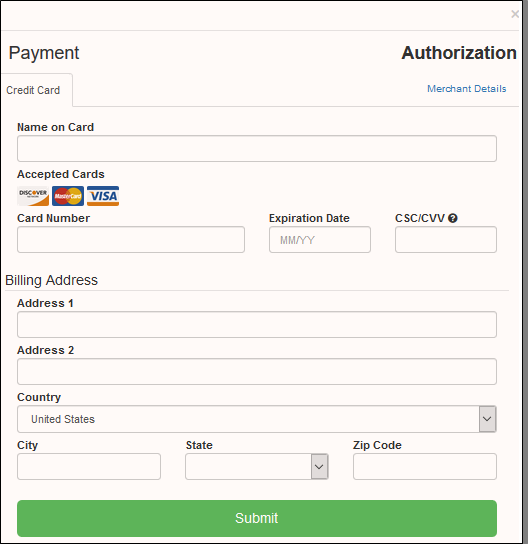
Your signer then clicks the green Submit button to submit an authorization check. If the submission is successful, your signer is sent back to the authorization form with a stamp of their payment information on the page.
When your signer is returned to the signature document, they can then click Finish & Submit Electronically once they complete all the required information, and their payment information passes a successful authorization check. The sender is notified the authorization is successful via email.
Your signer is presented with a Thank You screen, and you can now access their completed authorization form by accessing the file you created in the Sertifi portal.
Signer Tools
When a signer views the signature form, they have the ability to perform the following actions:
Change the signer
Print the document
Exit the workflow entirely
Change the Signer
Your signer can also choose to change the signer for the signature form by clicking Change the Signer in the right-hand navigation panel after they open the form. When they click Change the Signer, the Reassign this file screen appears. Here, the signer can enter the new email address, a message, and select if they want to receive a CC copy. Then, they click Reassign and Send to send to the new signer.
Printing the Document
Your signer can choose to download a printable version of the signature form after they open the form. When a signer clicks Printable Version, a pop up appears with a warning about PDF requirements. The signer clicks Download, and a PDF version of the signature document downloads to their machine.