Creating, Viewing, and Editing Admins
Note
If you need to gain permissions for adding, editing, or removing users, contact your portal's Super Admin, or your Sertifi Customer Success Manager.
Tip
Super Admins are the only accounts with the ability to edit or remove other admins.
The following roles can create, edit, and remove certain user types in a Sertifi portal:
View Admins
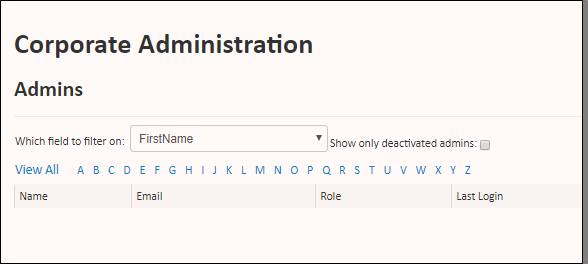
Navigate to Administration > View Admins to see a list of all the admins in your portal, including Admins, Super Admins, and Power Admins. To see information for an individual admin, click on their name. From here, you can see:
Name - the first and last name of the Admin
Email - the email address of the Admin
Role - the level of the admin; either Admin, Super, or Power
Last Login - the date and time of the Admin's most recent login
Workflow - Next Gen separates workflows between Authorizations and Agreements. Admins can be set to All to have access to both workflows.
Click View All to see all of the Admins in your portal, or filter by first name, last name, or email address. You can also click a letter to view Admins whose first name starts with the letter you select.
Reactivating admins
If the deactivation setting is enabled on your Sertifi account, your portal will automatically deactivate admins after 90 days of inactivity. If an admin is deactivated, and doesn't reactivate their account in time, you can reactivate them from the View Admins page.
To view and reactivate deactivated admins:
Navigate to Administration > View Admins.
Select Show only deactivated admins.
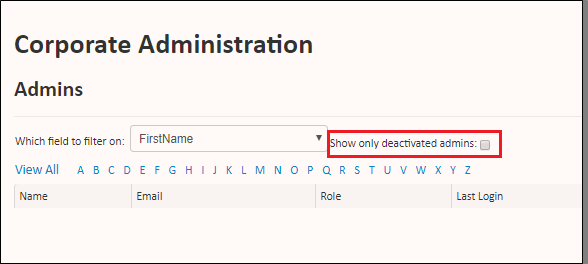
Click View All. Only deactivated admins appear in the list.
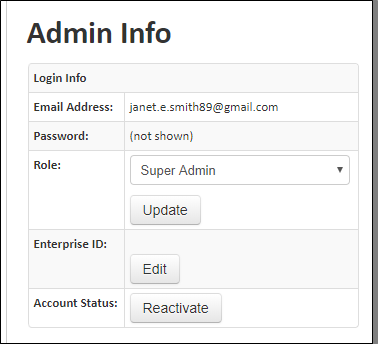
Locate the admin you want to reactivate.
Click the email address to access their Admin Info.
Click Reactivate in the Account Status area. The admin is reactivated and can access the portal again.
View Users
Navigate to Administration > View Admins. Click View All to see all of the Admins in your portal.
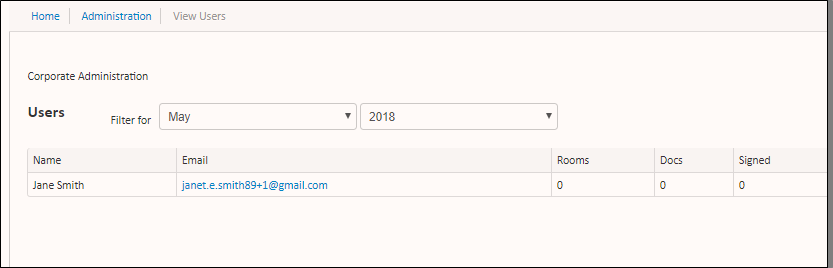
To see information for an individual admin, click on their name. From here, you can see:
Name - the first and last name of the User
Email - the email address of the User
Rooms - the number of rooms the user has open
Docs - the number of documents the user has open
Signed - the number of documents the user has signed
You can use the filters to see the users that were active for a particular month and year. If you click the email address listed for a user, you'll be brought to a profile page where you can see more information about the user.
Create Users and Admins
To create a new user or admin:
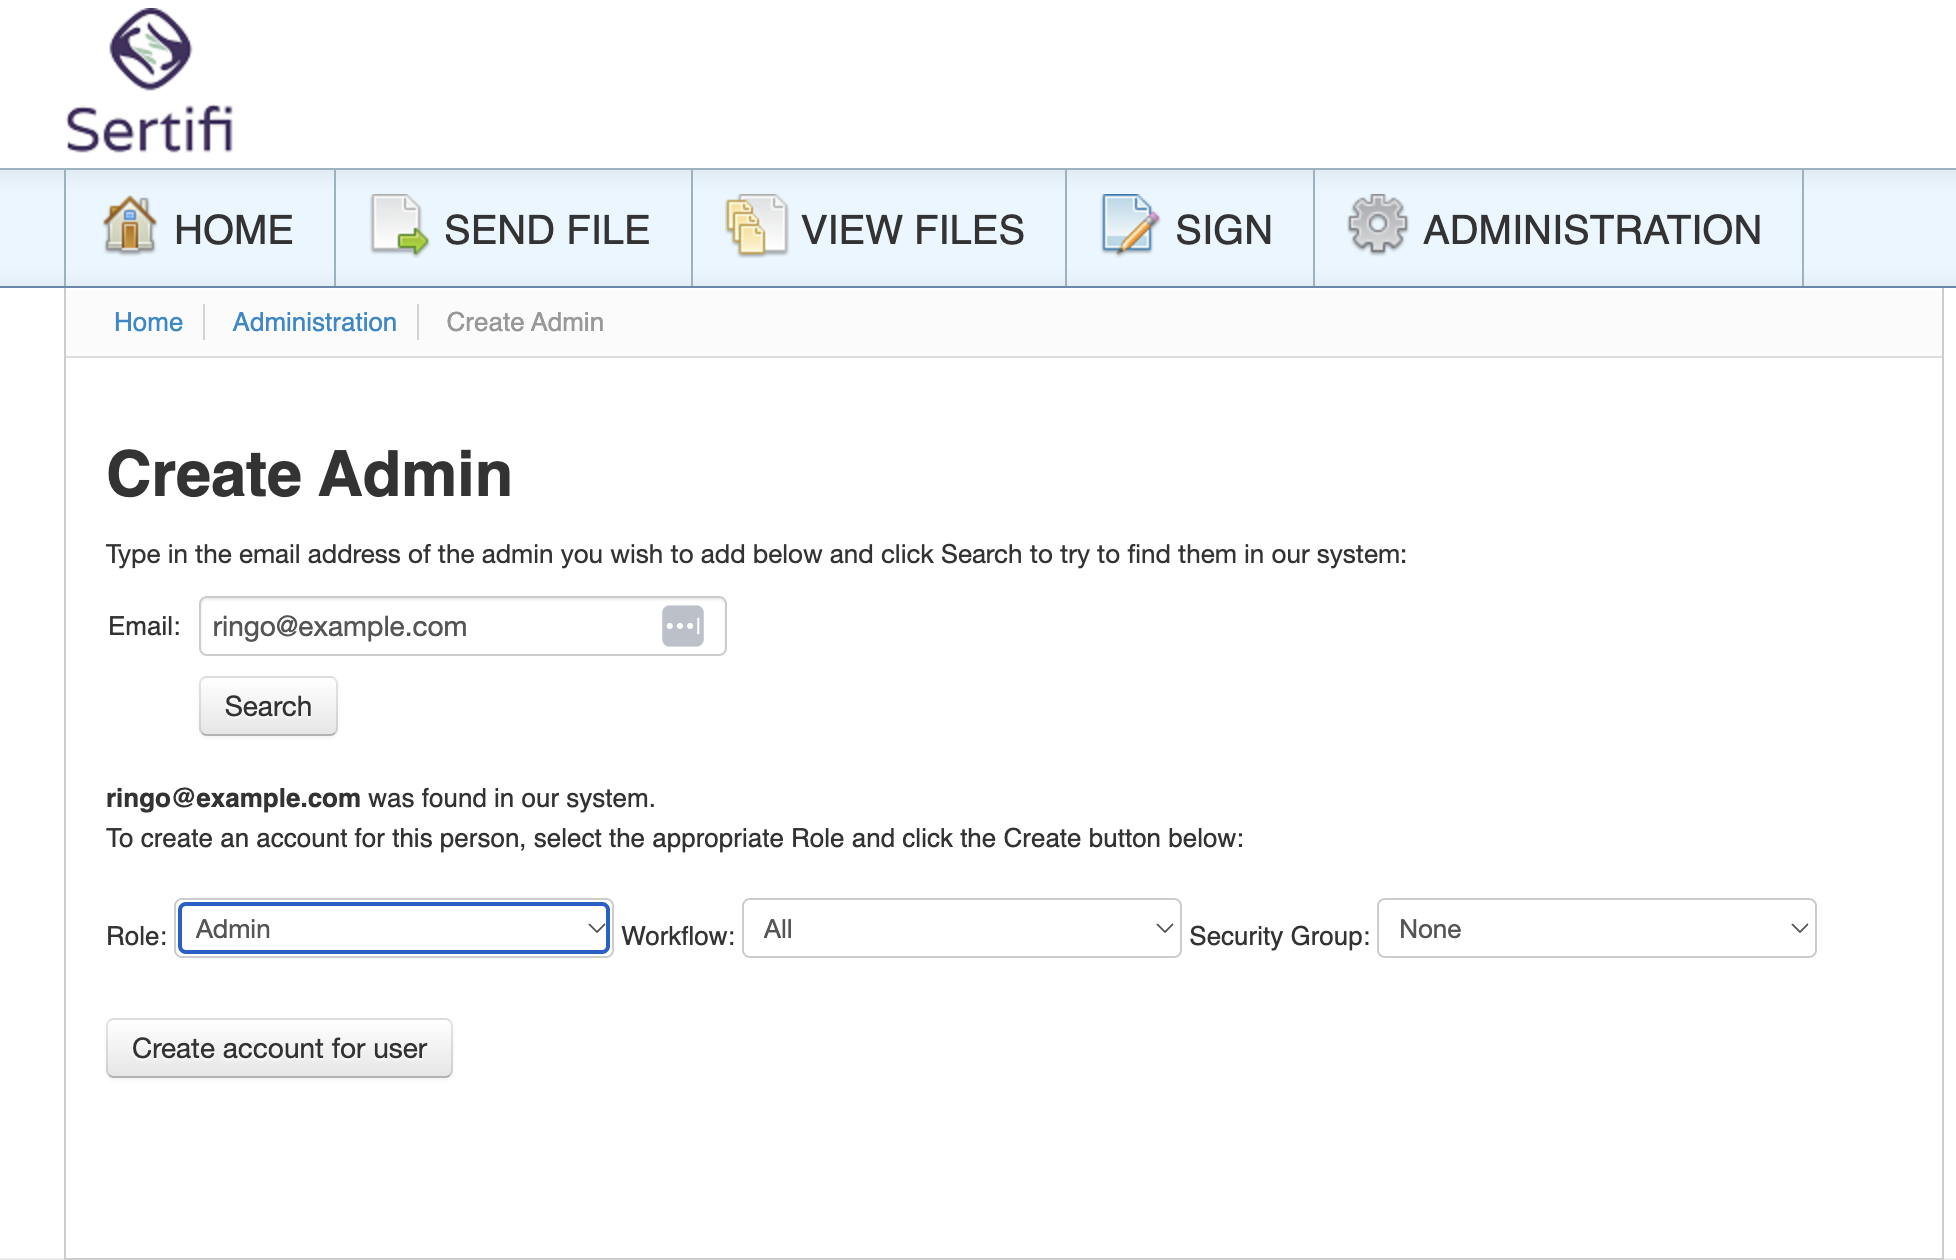
Navigate to Administration > Create Admins.
Enter the email address of the user you want to make an Admin, and then click Search. The Sertifi system locates the user for you.
Tip
If a user is already assigned an admin role, you'll receive the following message: [email address] was found in our system and is already a [user role] for your site.
You can click Change Role to update the role for the user.
Click the role you want to assign to the user from the dropdown, and then click Create account for user. You can also designate which workflow they should have access to – Agreements, Authorizations, or All.
For more information about user roles, see Sertifi Roles.
Caution
Admin accounts of any level cannot access credit card information by default. Admins who need to access credit card information must be added to a security group with that permission in order to view unmasked cards. See more about Security Groups.
Creating admins with SSO
Navigate to Administration > Create Admins.
Enter the email address of the user you'd like to make an Admin, and then click Search. The Sertifi system locates the user for you.
Click the role you want to assign to the user from the dropdown. You can also designate which workflow they should have access to – Agreements, Authorizations, or All.
For more information about user roles, see Sertifi Roles.
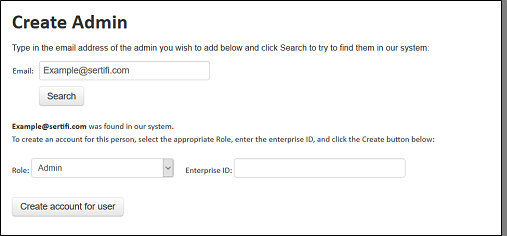
Enter the Enterprise ID for the Admin or higher role.
Click Create account for user. The profile for SSO is created.
Deactivating admins and users
In the event that a user no longer requires access to your Sertifi portal, a Super Admin can deactivate their user account to remove their access from the portal. To deactivate a user:
Click Administration > Create Admins.
Enter the email address of the user you want to disable, and then click Search.
Click Change Role. The user info screen opens.
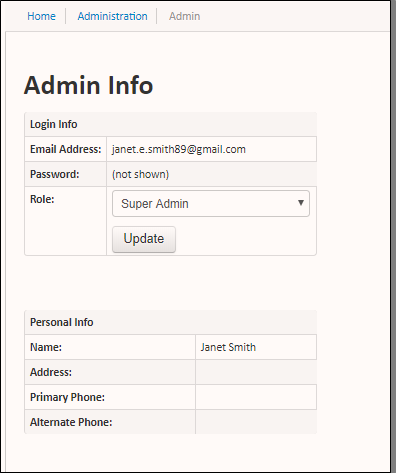
Select Disabled in the Role dropdown.
Click Update. The user no longer has access to your Sertifi portal.
Resend Activation Link
Click Administration > Resend Activation Link to resend the account activation email for your users if they lose the activation email, or if the user didn't receive the email.
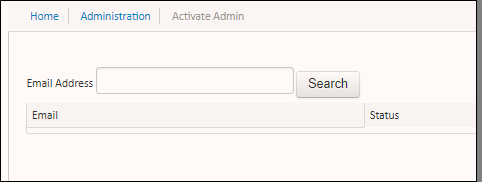
Enter the email address into the field on this page, and then click Search. Click Resend Link in the additional column, and the activation email is sent to the user.