eForms
Sertifi eForms let you create web-based forms for sending authorization requests. The forms are created, designed, sent, and managed all from within your Sertifi portal.
Note
When switching between portals, you may sometimes encounter a blank page, or be stuck on a "spinning wheel" page. If this occurs, try accessing your portal through your browser's private mode, such as Chrome's Incognito or Firefox's Private Browsing. To resolve the issue, you can also try clearing your browser's cache.
Sending an eForm
Start from your dashboard. Click Create New, and then click Send eForm.
Enter a folder name, and select an expiration date if you'd like.
Enter your participant's email address.
Optional – If you'd like to request that your participant upload a supplementary document, like an ID card, check the box next to Participant Upload and enter a name for the upload. To make this upload required, check the box next to Mark as Required.
Select an eForm from the dropdown menu underneath Select Form. A preview of the form will open at the bottom of the page.
Optional – If you'd like to add multiple guests to your eForm, click Add Another Guest under Guest Information. To remove a guest, click Remove Guest.
When you're ready to send the eForm, click Send Now.
Creating and Editing an eForm
Note
The default field labels on the eForm, like Guest First Name or Confirmation Number, can't be edited or removed.
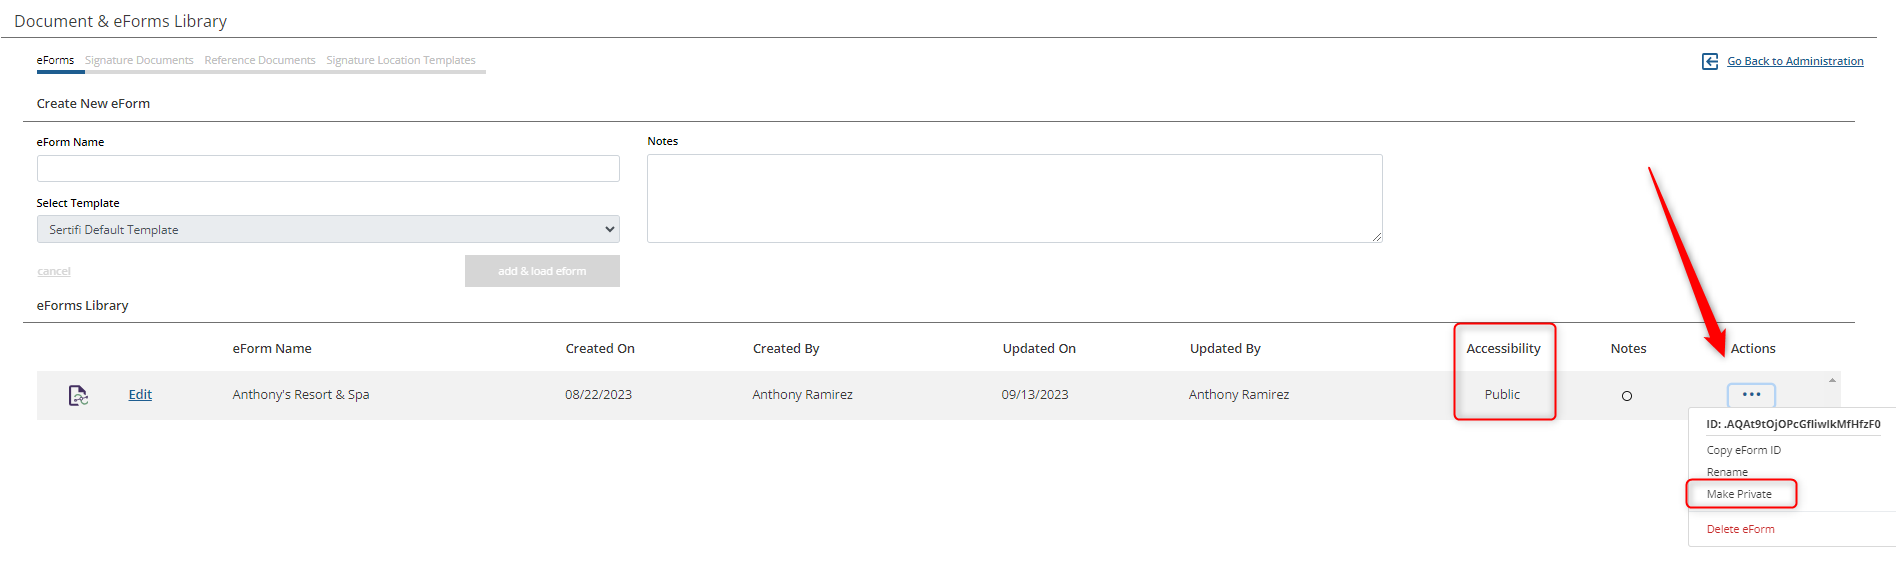
From your dashboard, click Administration, and then click Document & eForms Library.
Underneath Create New eForm, enter a name for your new form.
Select a template. Then click Add & Load eForm.
Note
If you want to make your new eForm available to all of the admins in your portal, return to the Document & eForms Library, click the ellipsis icon underneath Actions, and then click Make Public.
Your new form will open. From here, you can customize the colors, fonts, text size, and other elements of the form via the CSS editor on the left. See Default CSS Stylings Reference for more information.
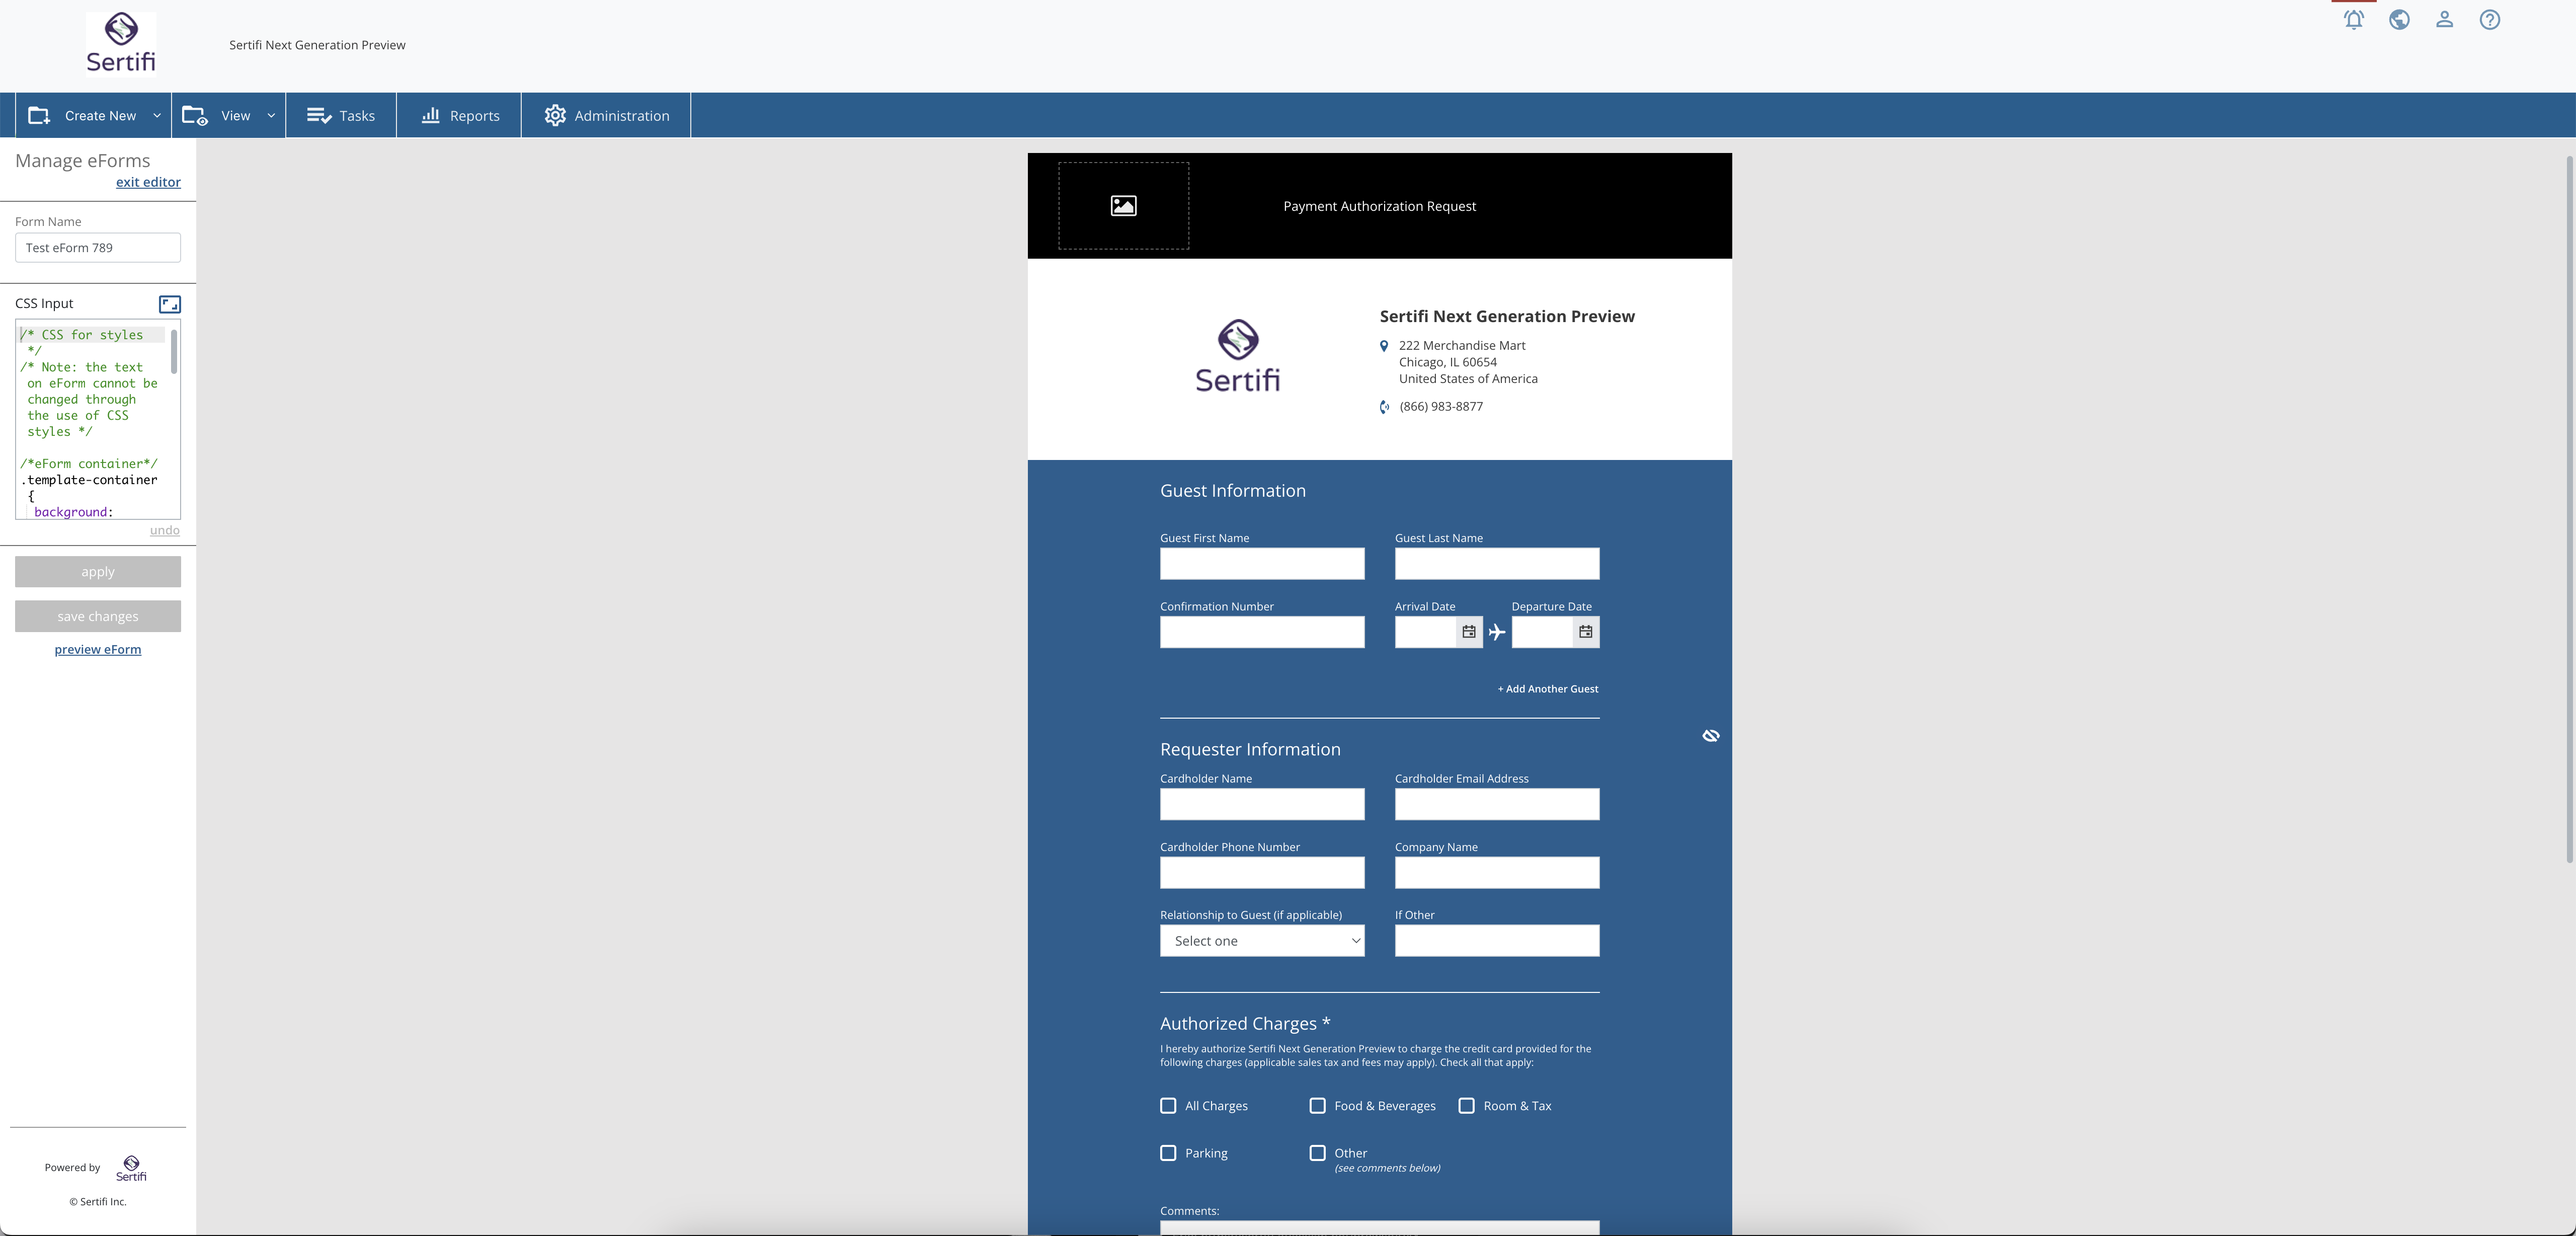
Optional – The default header text is Payment Authorization Request. To edit this, click on the text. Note that there's a limit of 150 characters.
Optional – You can also add an image to the form header if you wish. For best results, use a PNG with a transparent background.

By default, each eForm will include your portal's logo. To update this logo, contact [email protected].
The property name, address, and phone number are all pulled from your portal's Payment Forms & Receipt settings. To update this, go to Administration > Go to Classic Administration > Account Settings > Payment Settigns > Payment form & Receipt Settings. Note that only Super Admins can update this setting.

Your guest or recipient will be required to complete the following fields underneath Guest Information: First Name, Last Name, Confirmation Number, Arrival Date, and Departure Date.
The requester (you, or whoever is sending the authorization request) can fill out the Cardholder name, Email, Phone Number, Company Name, Relationship, and more.
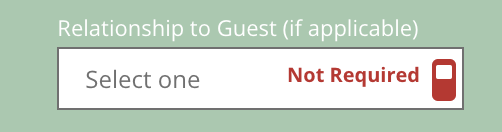
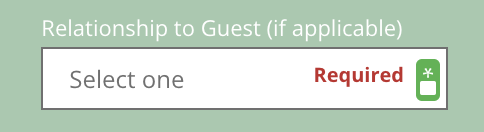
To make a field required, click the toggle switch on the right side of the text box. By marking a section as required, your guest will need to complete the field before they can submit the completed form.
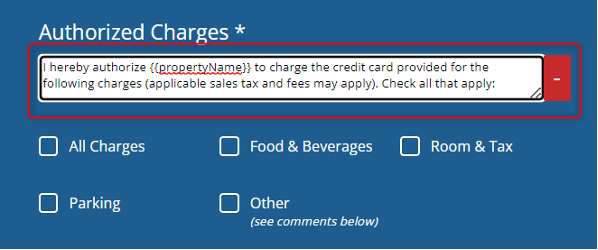
You can customize the terms and conditions of the Authorized Charges by clicking the text box. To automatically include your property name, you can use the {{propertyName}} tag in the text. Note that there is a 400-character limit for this field.
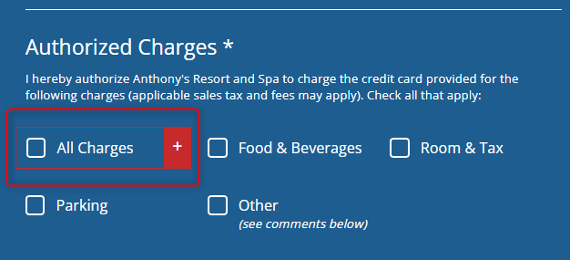
To add charges, click on All Charges, and then click the plus icon + to add more custom charges. Note that All Charges is the default, and cannot be removed.
To edit or remove a custom charge, click the text. Then hover over the charge and select the minus icon – to remove the charge.

In the Acceptance section, you can customize the terms and conditions by clicking either box and editing the text. You can use the {{propertyName}} tag to automatically insert your property's name where necessary. There are no character limits in either section.
To apply your changes, click Apply. You can then preview the updated form by clicking Preview eForm.
Save your updated eForm by clicking Save Changes.
Optional – if you want to make your new eForm available to all of the admins in your portal, click the ellipsis icon underneath Actions, and then click Make Public.