Adding documents to your Sertifi folder in Salesforce
In Salesforce Lightning and Salesforce Classic, you can create folders to store your document templates for easy access when creating your documents in Sertifi. When you add your templates to your Sertifi folder, you can quickly add these documents to your contracts through the Sertifi sending wizard.
Create the Document Folder
Ensure you're in Salesforce Classic.
Click the plus icon (+) from the home page.
Click Documents.
If you have proper permissions, you will see a section called Document Folders.
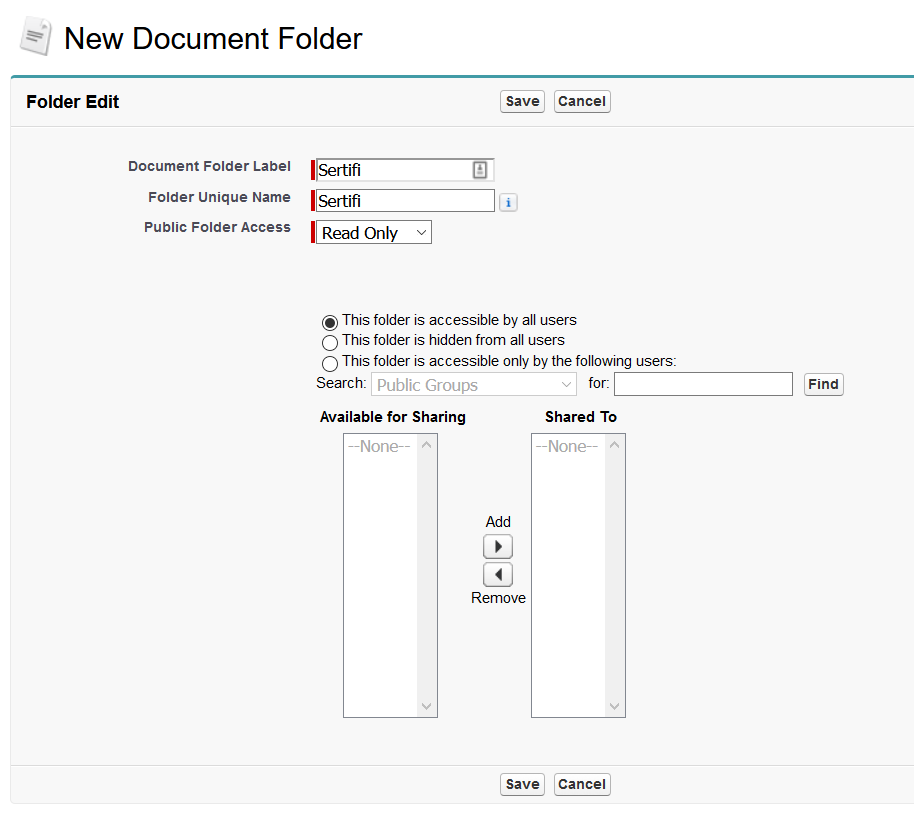
Click Create New Folder
Fill out the label and name for the folder. We recommend naming it Sertifi for easy access, as well as setting the folder access to read only, and enabling the folder to be accessible by all users. If your organization requires stricter sharing rules, ensure all users that will use Sertifi also have access to the Document Folder. Click Save.
Now that the folder has been created, custom settings have to be updated. Navigate to Sertifi's custom settings.
Enter in the name of the folder in the field Document Library Folder ID. If you enable this field, you must also enable ShowSFFolderSelect.
Adding documents
If you have a few documents that you send frequently to your customers, you should add these documents to your Sertifi folder.
To add documents:
Ensure you're in Salesforce Classic.
Click the plus icon( +)from the home page.
Click Documents.
Select Sertifi from the Folder dropdown in the Document Folders section.
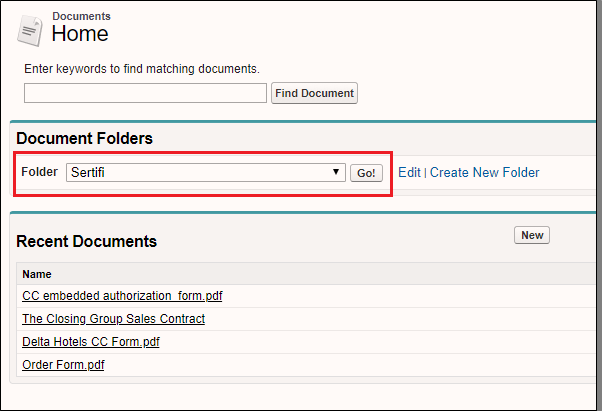
Click Go!
Click New Document. The Upload New Document screen appears.
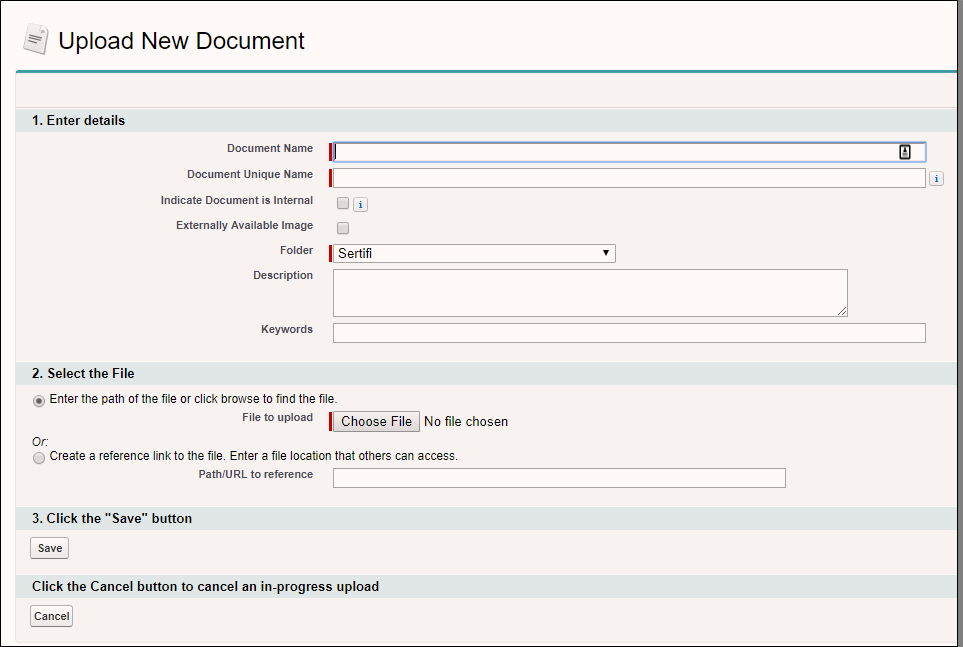
Enter the following required fields:
Document Name - enter a descriptive name for your document.
Document Unique Name - automatically populates with your Document Name.
Folder - ensure Sertifi is selected.
Click Choose File in the Select the file section, or create a reference link using a path or URL to where the document is stored.
Click Save.
Replacing a document
If one of your documents that you typically send out gets updated, you should update the document in your Sertifi folder. To do this, you must replace the pre-existing file.
To replace a document:
Ensure you're in Salesforce Classic.
Click the plus icon (+)from the home page.
Click Documents.
Select Sertifi from the Folder dropdown in the Document Folders section.
Click Go!
Click the name of the document you want to replace.
Click Replace Document.
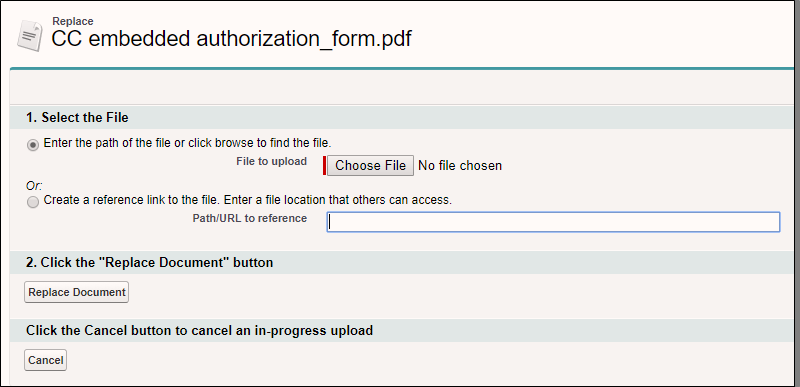
Click Choose File to upload a file from your machine, or create a reference link using a path or URL to where the updated document is stored.
Click Replace Document.