Configure or Edit Payment Settings
If you're a Sertifi Super Admin for your portal, you can update and make changes to the following payment settings:
Payment Form & Receipt Settings
Gateways & Rules
You can access these account settings through the portal by clicking Administration > Account Settings > Payment Settings.
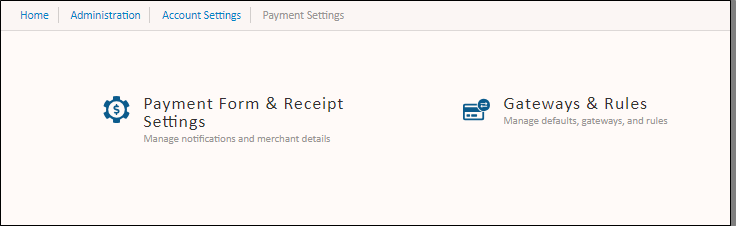
Payment Form & Receipt Settings
From here, you can manage notifications and merchant details. You can also configure which email addresses should receive a notification upon the receipt of a successful payment.
In Merchant Details, you can add or edit information that appears on your payment receipts, including refund and cancellation policies.
Click Update to save your changes.
Configuring the Payment Form & Receipt Settings
Note
These settings can only be changed by a Super Admin.
Tip
The information displayed on a payment form or receipt will always reflect your portal's current settings, and so changing these settings in turn will change the information that appears on these forms.
In Payment Settings, you can set defaults for certain details of your payment form and receipts.
To access these settings, go to Administration > Account Settings > Payment Settings > Payment Form and Receipt Settings. From here, you can create and configure various design elements that will appear on your payment form and receipts.
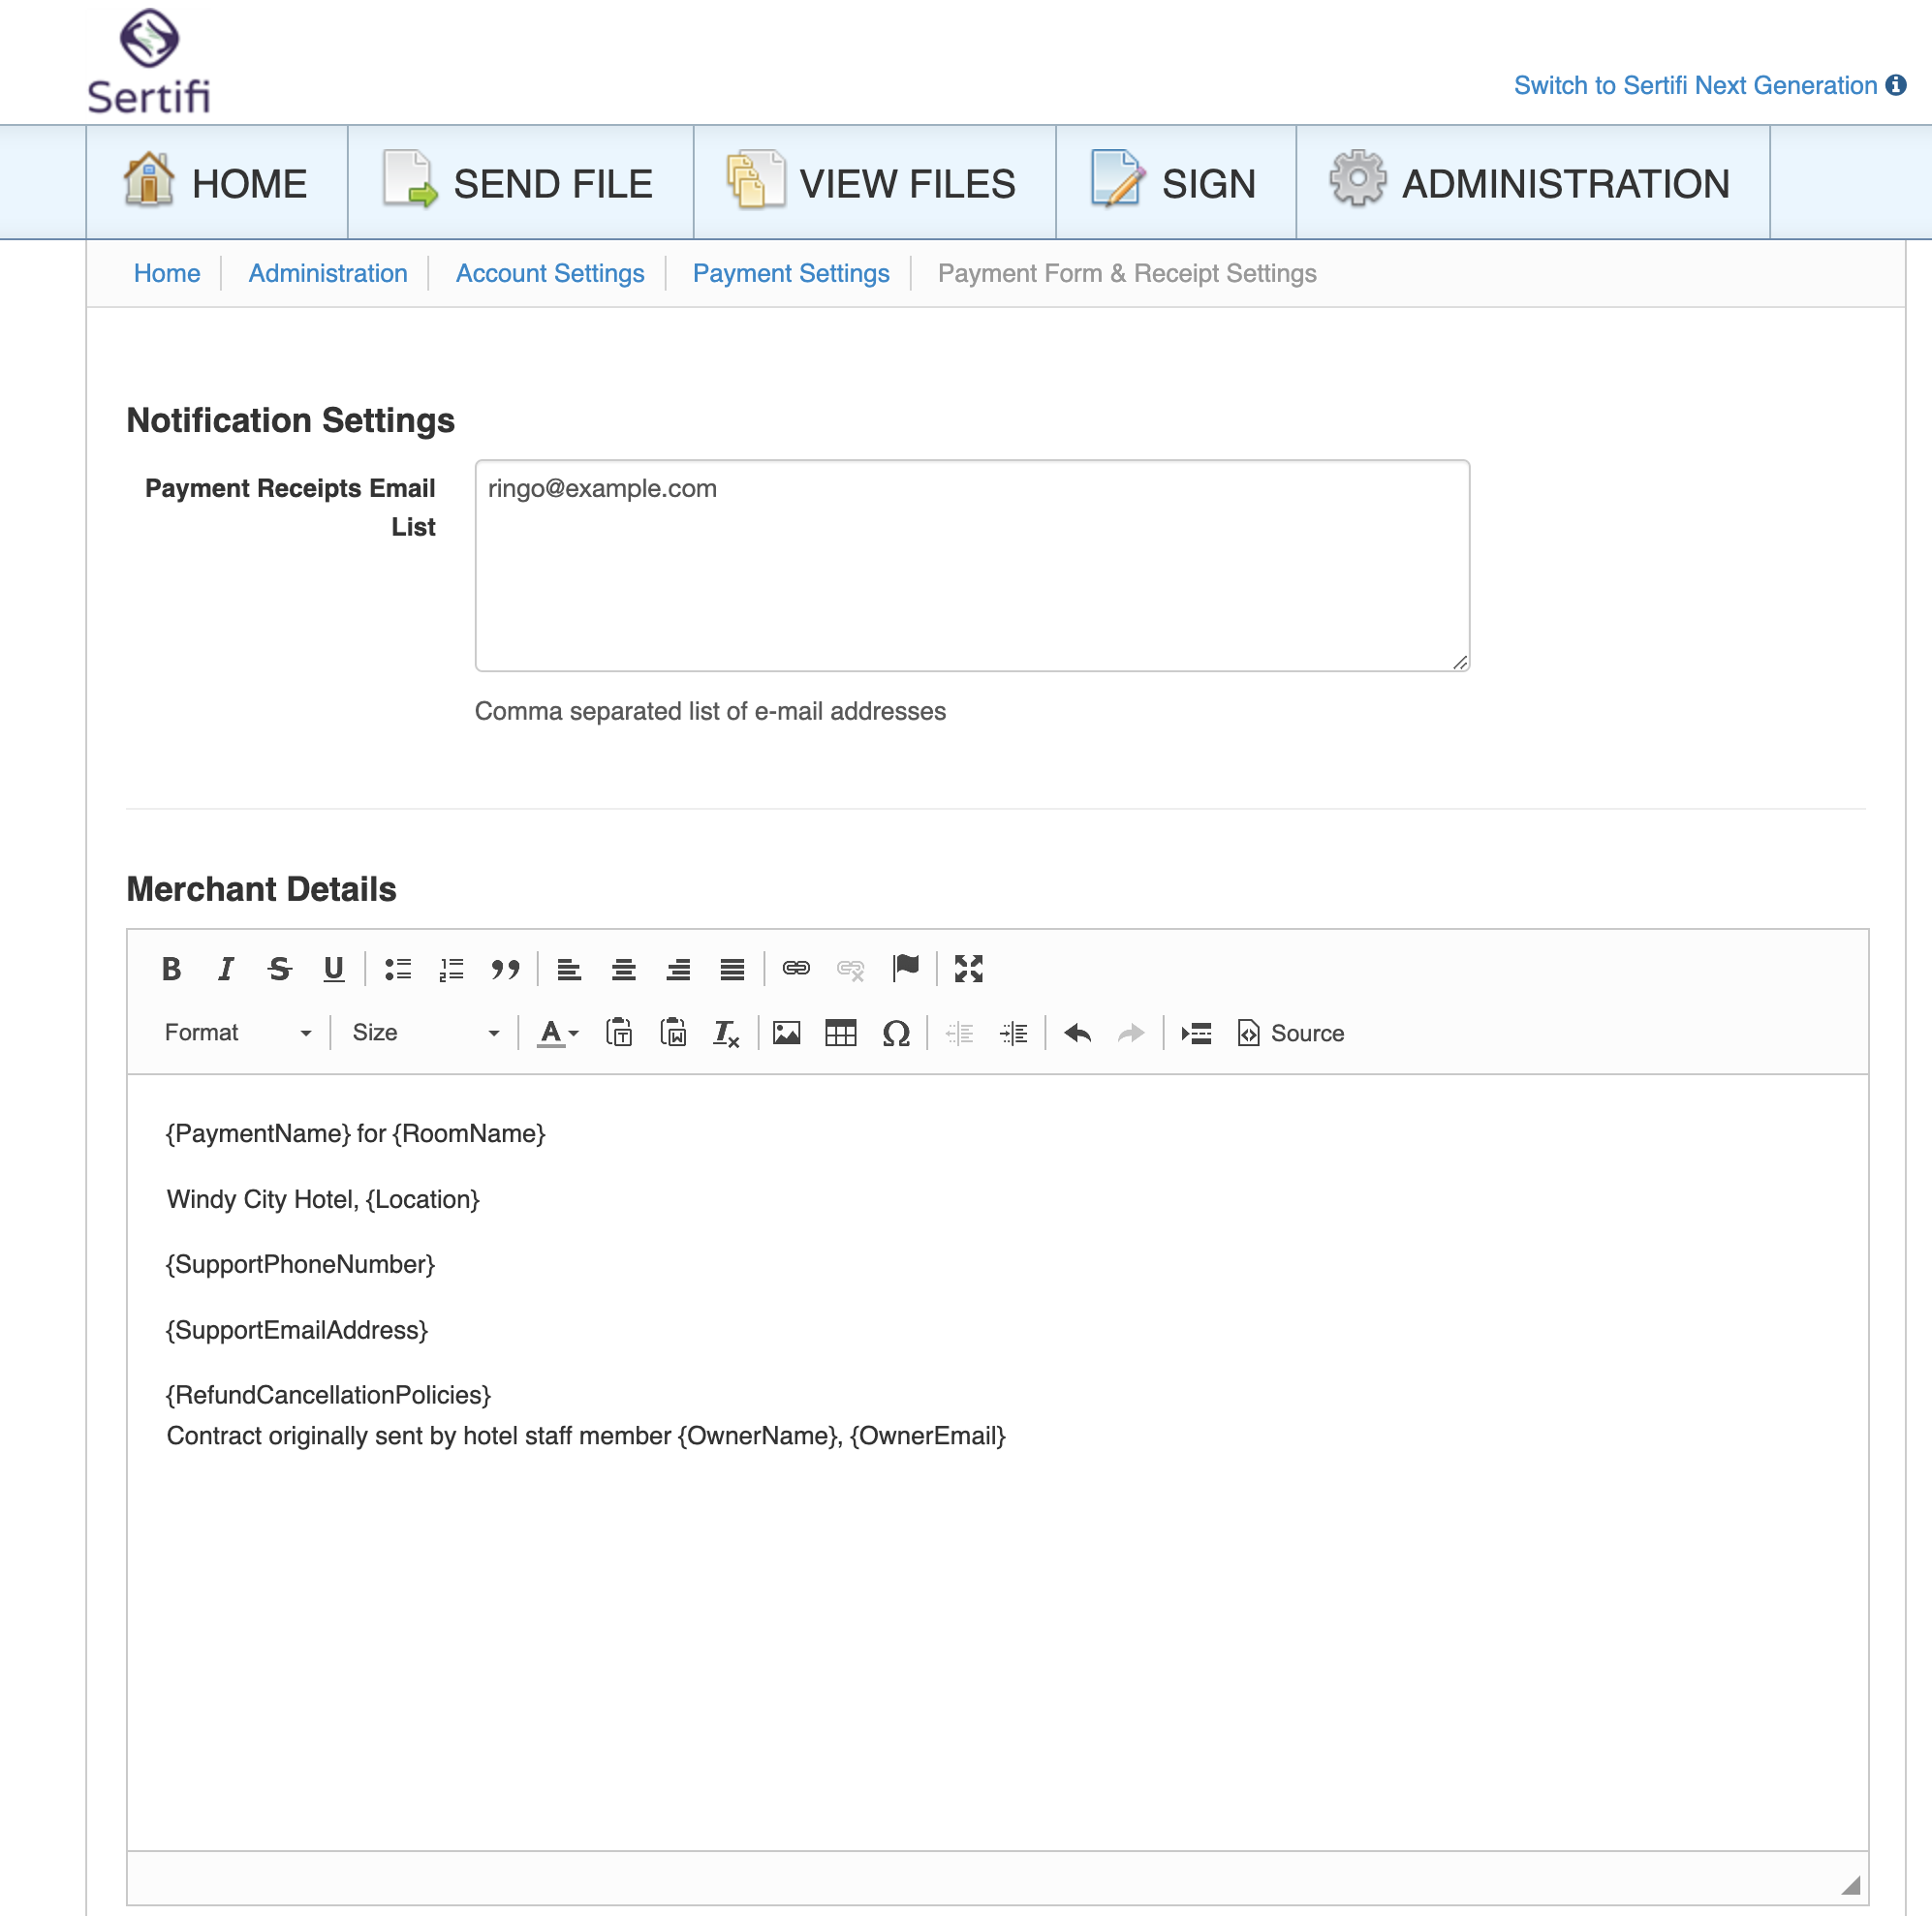 |
Notification Settings
Email addresses listed in this section will receive receipts for every payment received in your portal.
Merchant Details
Use this section to configure the details listed in your payment forms and receipts. Through the text editor, you can add text, images, tables and links.
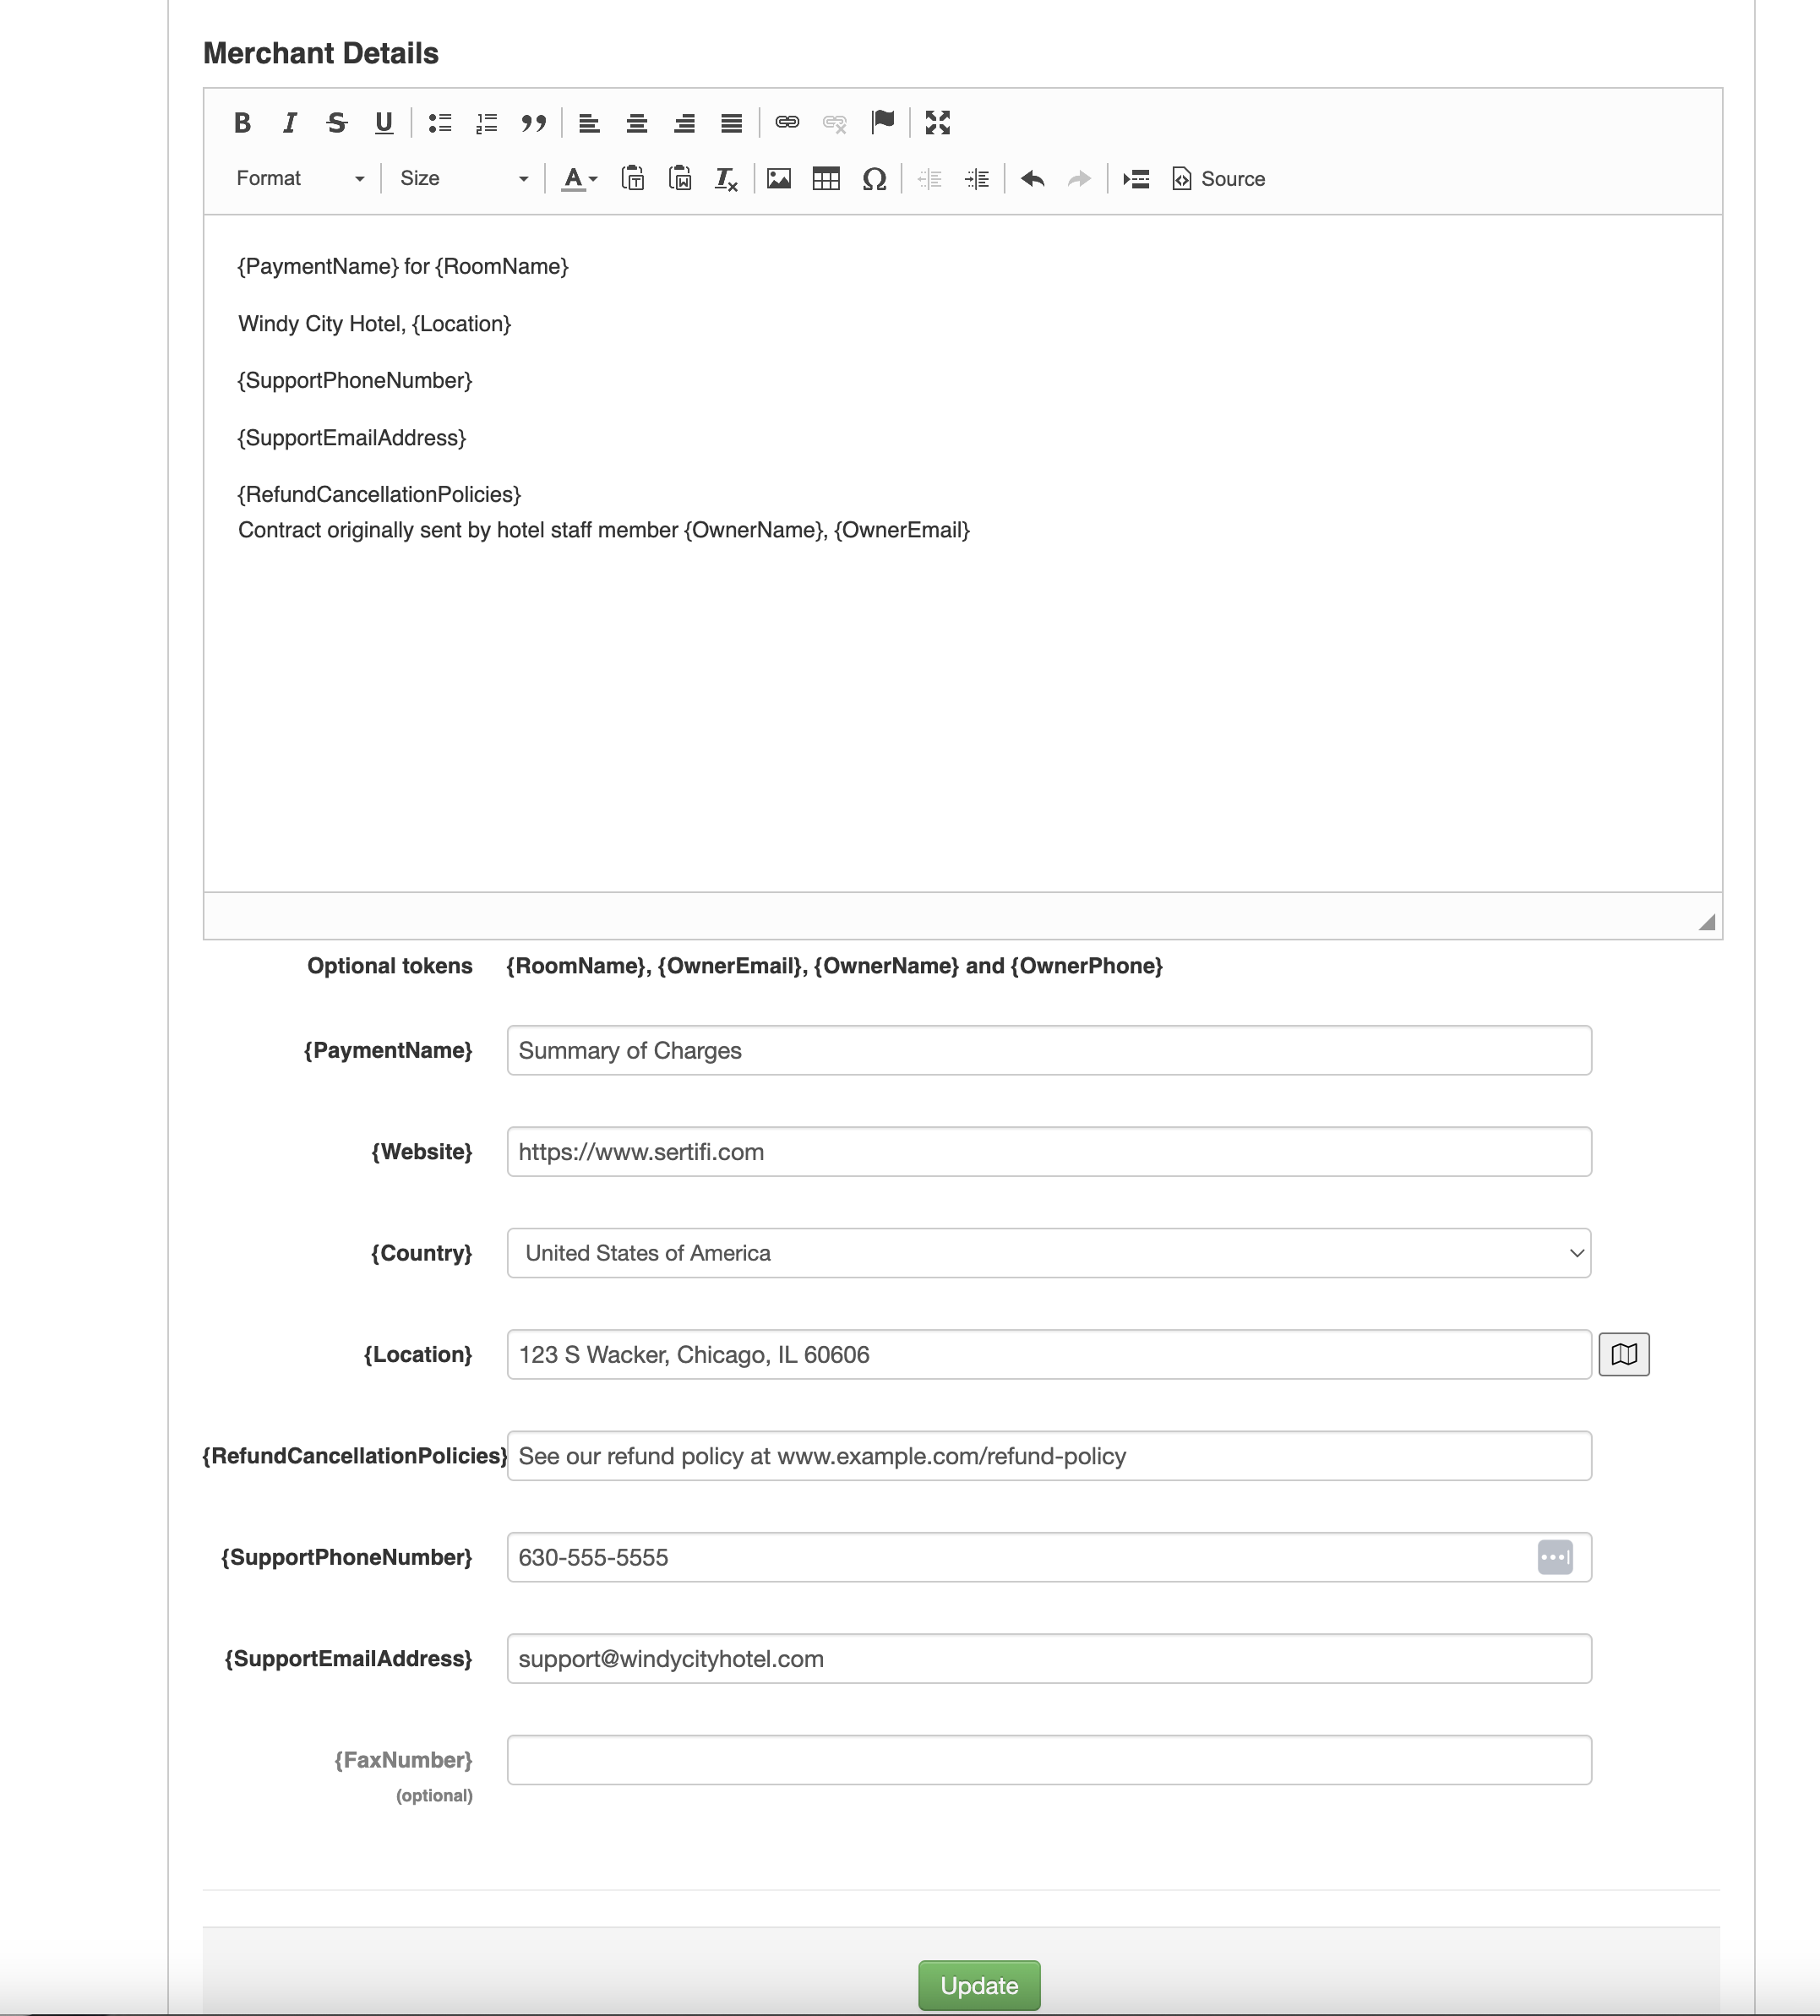
Use the tokens below to insert portal-based details that should appear in each of your payment forms or receipts.
It's required to provide values for these tokens. However, they will only be present on your payment forms and receipts if you include them. See the example form for details.
{PaymentName} - a default umbrella description for a payment. This should be a generic term that would apply to every kind of payment you send. Examples include Room Charges or Summary of Charges.
{Website} - your property's website.
{Country} - the country where your property is located or does business.
{Location} - your property's mailing address, or the address you would like to list on a payment receipt. Press the button to the right of this field to standardize the address using publicly available information via the Bing Maps API.
{RefundCancellationPolicies} - instructions on where to find your refund/cancellation policy. For example, this could say "Refer to example-hotel.com/refunds for our refund policy."
{SupportPhoneNumber} - a phone number that your customers can call with questions.
{SupportEmailAddress} - an email address that your customer can contact with questions.
These tokens can be inserted into your receipts if you so choose, but they are not required.
{RoomName} - the folder name as created during the Sertifi sending process.
{OwnerEmail} - the email address of the person who created and sent the folder from your Sertifi portal. This is configured in their user profile.
{OwnerName} - the name of the person who created and sent the folder from your Sertifi portal. This is configured in their user profile.
{OwnerPhone} - the phone number of the person who created and sent the folder from your Sertifi portal. This is configured in their user profile.
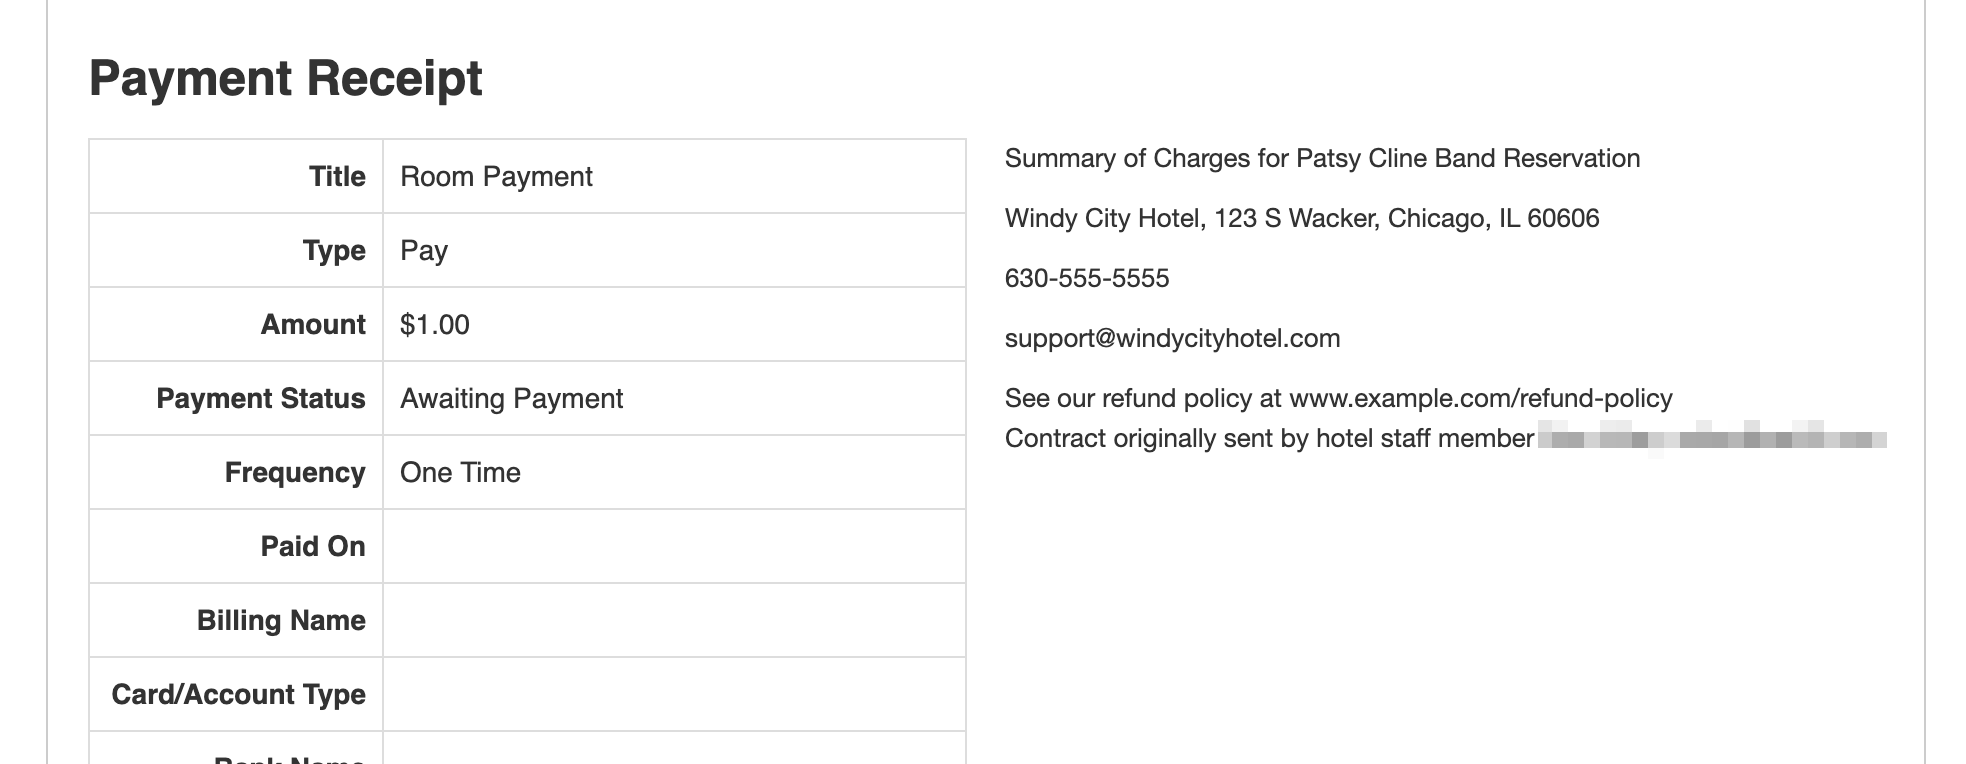
Example Form
Refer to these example images to see how the tokens in your payment form settings affect how the details are displayed on the payment form or receipt.
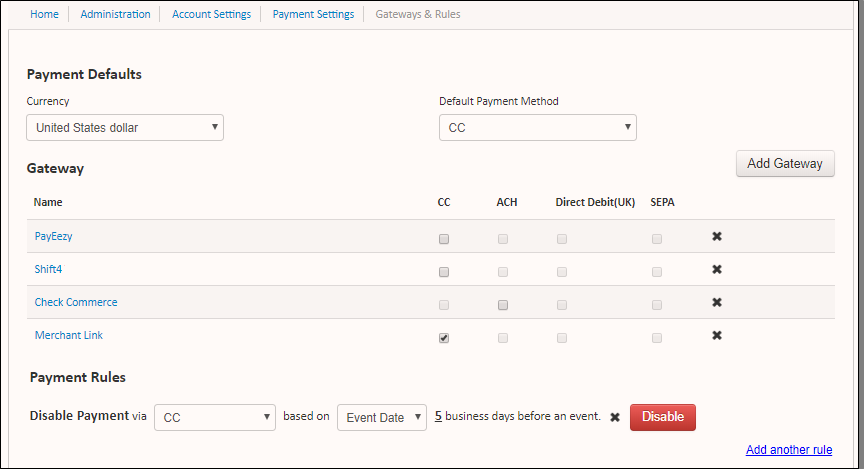
Gateways & Rules
In this section, you can manage your payment defaults, gateways, and rules. In many cases, this section will already be configured for you by your Customer Success Manager when you create your account.
Your Payment Defaults include your default currency and default payment method for your payments. You can change your Default Payment Method by selecting the payment method you want from the Default Payment Method dropdown.
As of 2022, Sertifi supports the following currencies:
United States dollar (USD)
Australian dollar (AUD)
Canadian dollar (CAD)
Swiss franc (CHF)
Danish krone (DKK)
Euro (EUR)
British pound (GBP)
Indian rupee (INR)
Japanese yen (JPY)
Norwegian krone (NOK)
New Zealand dollar (NZD)
Polish zloty (PLN)
Swedish krona (SEK)
South African rand (ZAR)
Gateway Configuration
The Gateway section provides a table of the payment gateways you enable for your portal. You can select which payment forms you want to accept. Once you enable a payment gateway for your account, click Add Gateway and select the gateway from the dropdown list. Then, select CC or ACH, depending on the types of payments you want to accept for that gateway. For more information about payment gateways, see Sertifi Payment Gateways.
You can click on a gateway name to configure that gateway to accept payments and authorizations.
Accepted Card Types
You can choose which card types you want to accept for payments and authorizations. In order to choose the card types you want to accept, you must also display the card types on your payment form. The payment form is the form your payer sees when submitting a payment or authorization.
To enable accepted card types, select Display on Payment Form, and then select the card types you want to accept. Click Update when you're done.

Tip
At minimum, you must accept at least one type of payment card.
Enabled Workflows
You can also view the enabled workflows for your payment gateway. These settings are typically enabled by Sertifi on your behalf when configuring your gateway. However, you can select the default workflow action for your payment gateway. Choose either Pay or Authorize.
Payment Rules
The Payment Rules section is where you can add payment rules that you want to apply for the payments you collect. When you create payment rules, Super Admins can either disable or enable the payment rules.
Additionally, any changes you make on this page automatically update and save without any action required from you.
With these payment rules, you can control when to disable certain payment types based on an event date or an amount.
Caution
If your portal is only set up to use one payment method, we do not recommend enabling payment rules.
Payment Rule Example
Let's assume you don't want to accept ACH payments within 5 days before an event. With a payment rule, you can disable ACH payments, which then forces the payer to use a credit card if they're paying within 5 days of an event. Additionally, you could also disable credit card payments for a certain amount, so the payer must use an ACH payment, which cuts down on the fees associated with payers using credit cards for large deposits.
Creating Payment Rules

To create a payment rule:
Navigate to Account Settings > Account Settings > Payment Settings in your Sertifi Portal.
Click Add a rule under the Payment Rules section.
Choose CC or ACH based on the payment you want to disable.
Choose Event Date or An Amount that you want to disable the payment type for.
If you selected Event Date, enter how many days before an event you want to disable the payment type.
If you selected An Amount, enter the dollar range you want to disable the payment type. You can enter either just a minimum or just a maximum amount. For example, if you don't want to accept payments over $10,000, enter this as your minimum amount and leave the maximum blank.
Caution
If you're adding more than one payment rule, ensure that your payment rules don't conflict. For example, if you set a rule to disable credit card payments 5 days before an event, and the event costs $1,000, don't set another rule that disables ACH payments for amounts over $800. If you do, your client won't have any way to pay.
Click Update to save.