Configure & Edit Email Settings
As a Sertifi Super Admin you can create, edit, and update email templates sent to your signers, payers, and CCs for when certain events occur on your documents. You can also create email groups to send certain email types and custom messages to different groups of clients. If you want to enable this, contact your Customer Success Manager.
Note
You must have Sertifi enable the Use Templates and Enable Email Edit Feature settings to update your email templates.
This article contains the following sections:
Invitation Emails
Payment Emails
Other Emails
Creating custom signer templates
Updating default templates
Adding images to emails
Invitation Emails
There are three types of email templates available for Invitation emails. These email templates are available for Sertifi eSignatures, Sertifi ePayments, and Sertifi eAuthorizations:
Signers - the email sent when the file owner invites the signers to the document, or after a signer signs the document.
CCs - the email sent to anyone who is CC'ed on a file.
Reassign email - the email that is sent to a signer when they reassign the file.
Payment Emails
If you use Sertifi ePayments or eAuthorizations, there are six templates available for Payment emails:
Payment Due Invite - the email sent to a payer when a Payment Due email triggers from your default reminders.
Authorization Received - the email sent to the file owner when a payment authorization is successfully submitted.
Authorization Received For CCs - the email sent to CCs when a payment authorization is successfully submitted.
Payment Only Emails - the email sent to the payer when a payment is requested, and the file doesn't contain a document.
Payment Received - the email sent to the file owner when a credit card payment is successfully submitted.
Payment Received For CCs - the email sent to CCs when a credit card payment is successfully submitted.
Other Emails
Additionally, there are two other email templates you can choose to use. These email templates are available for Sertifi eSignatures, ePayments, and eAuthorizations:
Document Signed - the email sent to the file owner once the document is signed by all parties.
Activation Email - the email sent to a new user asking them to activate their email address associated with their Sertifi account.
Creating custom signer templates
By default, Sertifi includes a template for the emails sent to your signers. However, you have the ability to override this email template and create your own. You can create custom templates for each level of signer for your files.
To create your own email template:
Navigate to Administration > Account Settings > Emails in the Sertifi portal.
Click Signers in the Invitation Emails section. The Signer Invitation Emails screen appears.
Click Add Template. A popup appears.
Select the level of signer you want to create a template for, and then select the language you want the email to appear in.
Click Create. The InviteSigner screen appears.
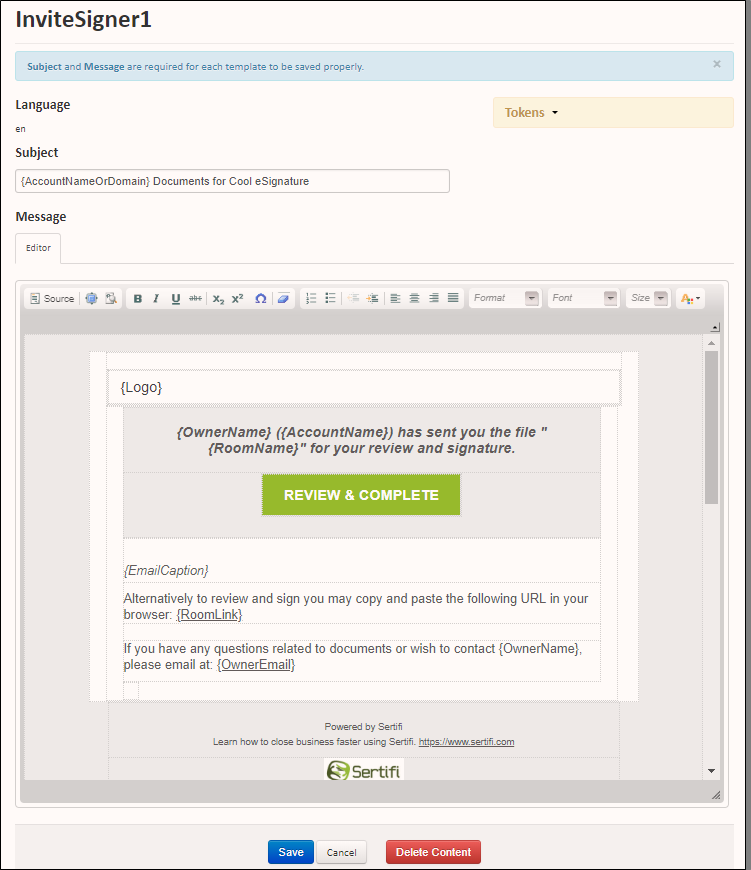
Enter the text you want to use for the Subject of the email.
Use the Message Editor to update and compose your message to your signer using text and tokens. You can either update the message in HTML or the Editor, which includes features similar to a Word Processor.
Click Save to save, or click Cancel to remove any unwanted changes.
Updating default templates
You can choose to use the default Sertifi templates, but you can also update these existing templates to include your own branding and messaging. To update a default template:
Navigate to Administration > Account Settings > Emails in the Sertifi portal.
Click the name of the template you want to update - for example, the Reassign email. The email template editor opens.
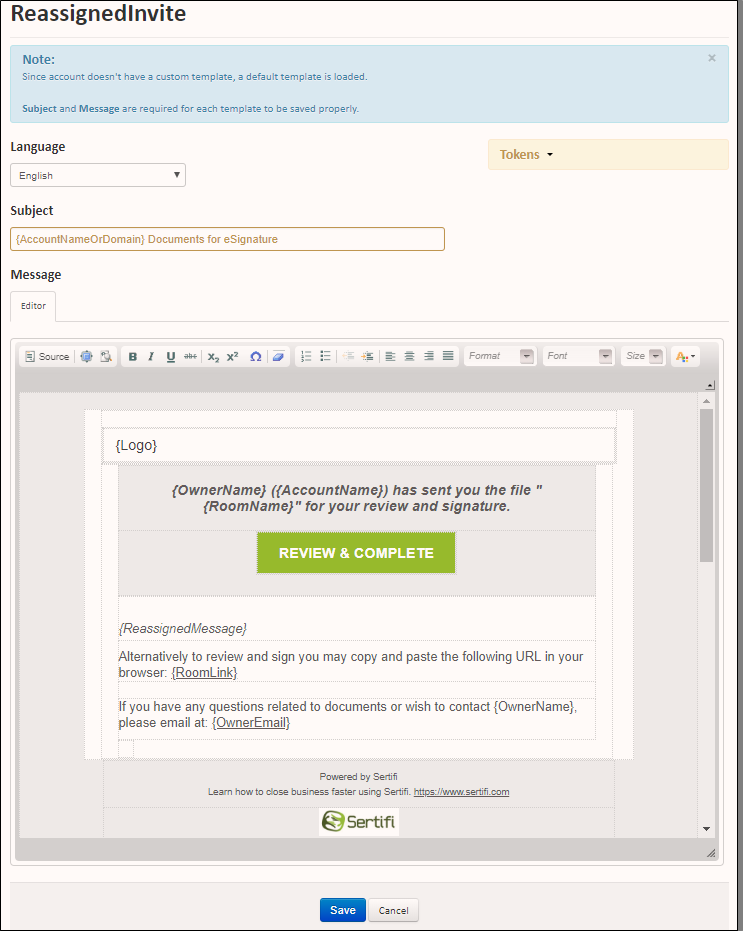
Select the language you want the email to appear in from the dropdown.
Update the Subject line, if necessary.
Use the Message Editor to update and compose your message to your signer using text and tokens. You can either update the message in HTML or the Editor, which includes features similar to a Word Processor.
Click Save to save, or click Cancel to remove any unwanted changes.
Tokens
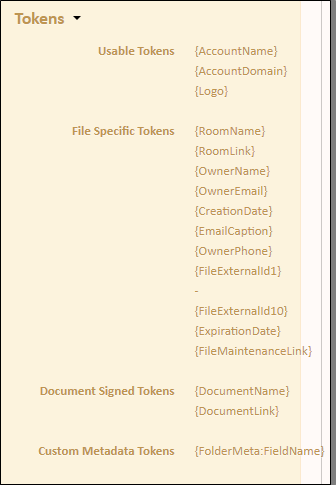
You can use tokens in your emails to automatically pull information about your account, file, signed document, and custom metadata to appear directly in your emails. To see a list of available tokens, click Tokens on the edit screen for each email template. The tokens list updates depending on the type of email template you're creating. For instance, for all Payment emails, a list of Payment Receipt Tokens appear in the token list, whereas for an Invitation email, no payment receipt tokens appear. The token list serves as a reference while you're creating your email templates.
Token Scenario
Your name is Jane Smith, and you're the front desk manager for The Closing Group. You want to send out custom emails for your second level signers for room contracts. You're a Super Admin in your Sertifi portal, and know that you had your Sertifi CSM enable the ability to edit email templates in your portal.
You log in to your portal and navigate to the Emails section to create a custom email template for your second level signers. You want to make sure that your email includes your account name, your name as the file owner, and the name of the file you're sending. You know you need to use tokens so that all second level signer emails are updated dynamically with the appropriate information.
You click Tokens to see the dropdown of available tokens, and see that you need to use the following:
{AccountName} to show the name of your account in the email.
{OwnerName} to show the name of the file owner in the email.
{RoomName} to show the name of the document in the email.
In the Message Editor, you write out the content you want to appear in the email body for the email sent to your second signers. In the body text, you include the following string: {OwnerName} from {AccountName} has sent you the file {RoomName} for your review and signature.
Now, when the email sends to your second signer to invite them to sign the document, the body of the email will read: Jane Smith from The Closing Group has sent you the file Room Contract for your review and signature. From here, the second signer can view the contract and sign.
Adding images to emails
You can add images (.jpg, .gif, or .png files no larger than 2MB) to your email templates either through the rich-text editor, or by dragging and dropping images from the Internet or your local machine.
Adding images with the rich text editor
To add images to your email templates via the rich text editor:
Navigate to your emails.
Click the email template you want to add an image to, or create a new email template.
Click
 in the rich text editor. The Image Properties window appears.
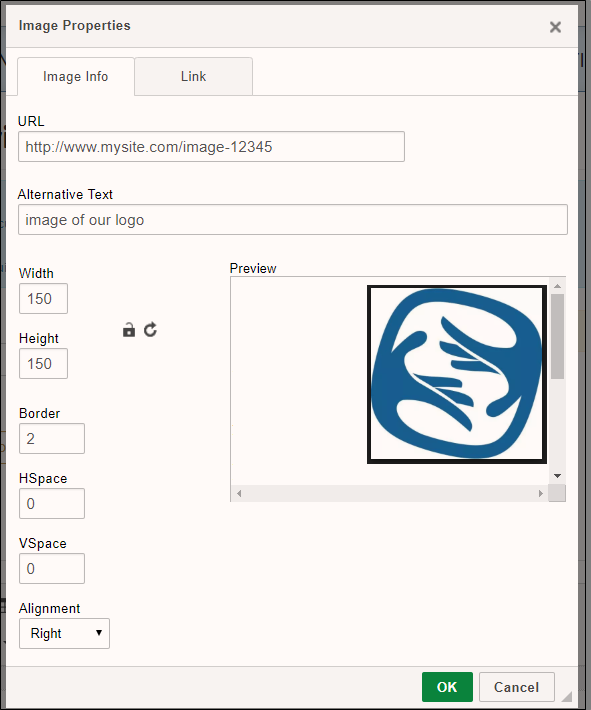
Optional - Enter alternative text for the image.
Optional - Update the width, height, border, HSpace, VSpace, and alignment based on your preferences. These values are in pixels.
Click OK. The image appears in your email template.
Adding images with drag and drop
To drag and drop an image into an email template:
Navigate to your emails.
Click the email template you want to add an image to, or create a new email template.
Locate the image on your local machine or the Internet.
Click on the image and drag it into the email template editor.
Once the image appears in the editor, you can right-click on the image to adjust its properties and add a hyperlink.
Adding a hyperlink to an image
Right-click on the image in the email template.
Click Image Properties. The Image Properties window appears.
Click the Link tab.
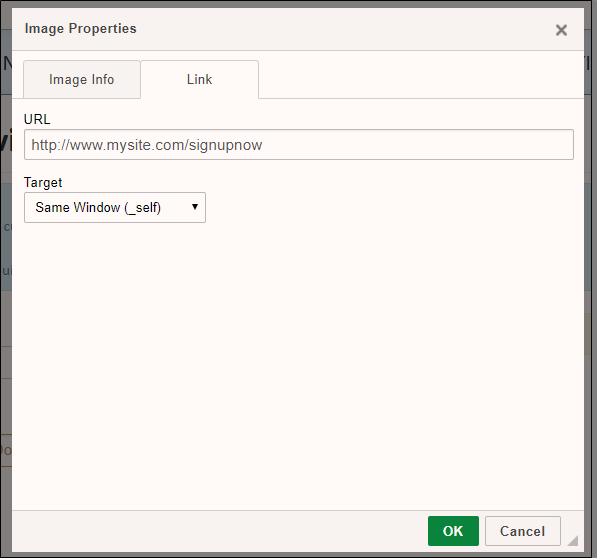
Enter the URL where you want the image to link to.
Select a Target from the dropdown to open the hyperlink in a new window, topmost window, same window, or parent window.
Click OK. Your image is now hyperlinked.